Sewing Cushions
Sewing cushions is a delightful way to add a personal touch to your home decor. Whether you’re looking to spruce up your living room or create a cozy reading nook, custom cushions can make a significant difference. This guide will walk you through the entire process, from selecting the right materials to finishing touches that will elevate your cushions to the next level. With a bit of creativity and some basic sewing skills, you can create beautiful cushions that reflect your style and enhance your space.
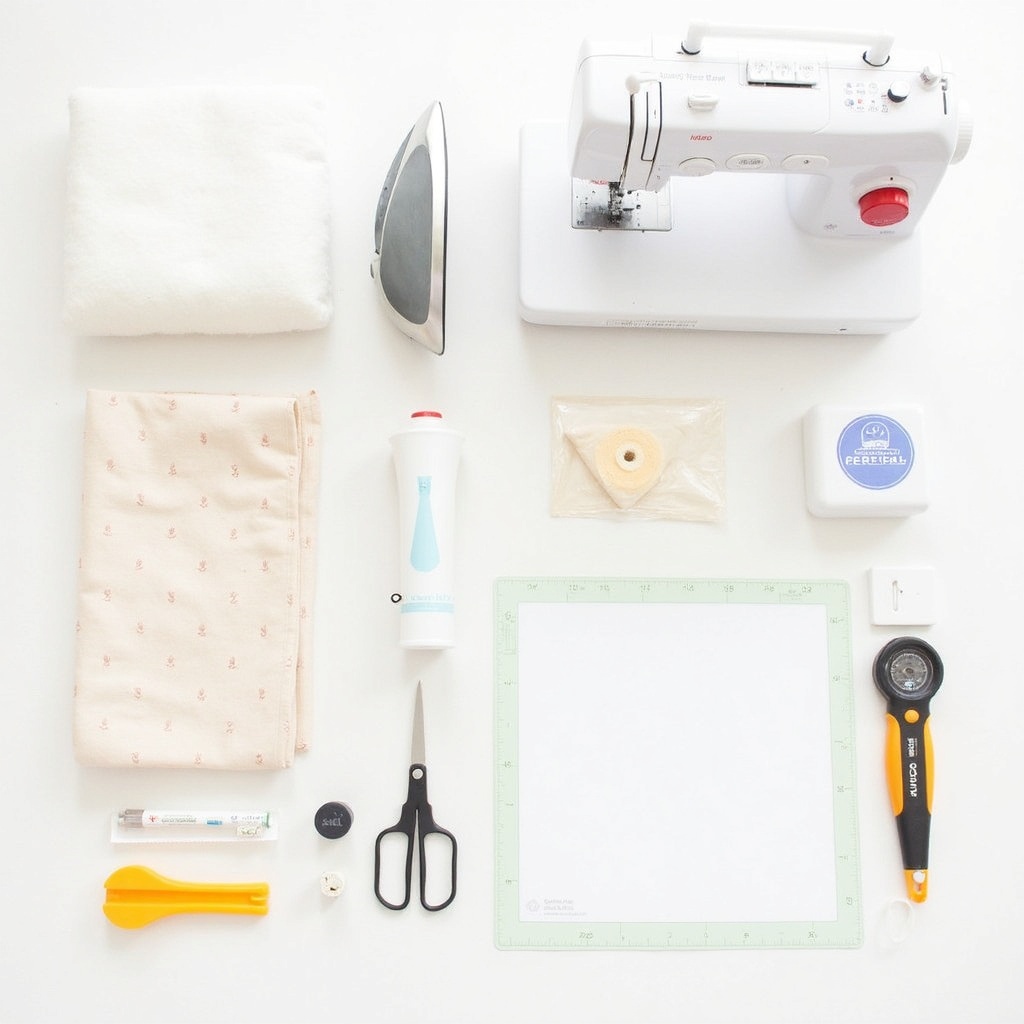
Supplies You’ll Need
- Fabric: Choose a durable fabric that complements your decor. Cotton, linen, or upholstery fabric are great options.
- Cushion Insert: Select the right size and type of cushion insert for your desired comfort level.
- Sewing Machine: A reliable sewing machine will make the process smoother and faster.
- Thread: Use a thread that matches your fabric for a seamless look.
- Scissors: Sharp fabric scissors are essential for clean cuts.
- Pins: These will help hold your fabric in place while you sew.
- Measuring Tape: Accurate measurements are crucial for a perfect fit.
- Iron: Pressing your fabric before and after sewing will give your cushions a professional finish.
- Fabric Marking Pen: This will help you mark cutting lines and sewing guides on your fabric.
- Zipper or Buttons: For removable covers, consider using zippers or buttons for easy cleaning.
- Sewing Gauge: This handy tool helps measure hems and seam allowances accurately.
- Rotary Cutter and Mat: For precise cutting, especially with multiple layers of fabric.
- Pattern Paper: If you want to create custom shapes or sizes for your cushions.
Step-by-Step Instructions
Step 1 — Choose Your Fabric
Selecting the right fabric is crucial for your cushion’s durability and aesthetic appeal. Consider the room where the cushions will be placed; for example, a living room might benefit from a more robust upholstery fabric, while a bedroom could use softer cotton or linen. Don’t forget to think about color and pattern—choose something that complements your existing decor. If you’re feeling adventurous, mix and match different fabrics for a unique look. Always buy a little extra fabric to account for mistakes or miscalculations.
Step 2 — Measure and Cut
Once you’ve chosen your fabric, it’s time to measure and cut it to size. Decide on the dimensions of your cushion based on the insert you have chosen. A common size for throw cushions is 18x18 inches, but you can customize this to fit your needs. Use a measuring tape to mark your fabric, and then cut it with sharp scissors or a rotary cutter for clean edges. Remember to add seam allowances—typically 1/2 inch on all sides—to ensure your cushion fits well.
Step 3 — Prepare the Fabric
Before sewing, it’s essential to prepare your fabric. Pre-wash your fabric to prevent any shrinking after your cushion is complete. Iron the fabric to remove any wrinkles, which will help you achieve straight seams. If your fabric tends to fray, consider using a zigzag stitch along the edges or applying fray check to prevent this. This preparation step is key to ensuring your cushion looks polished and professional.
Step 4 — Pin the Pieces Together
With your fabric cut and prepared, it’s time to pin the pieces together. Lay the fabric pieces right sides together, aligning the edges. Use sewing pins to secure the fabric in place, making sure to pin at regular intervals to prevent shifting while sewing. This step is crucial for achieving straight seams and a neat finish. If you’re using a zipper, make sure to position it correctly at this stage, following the manufacturer’s instructions.
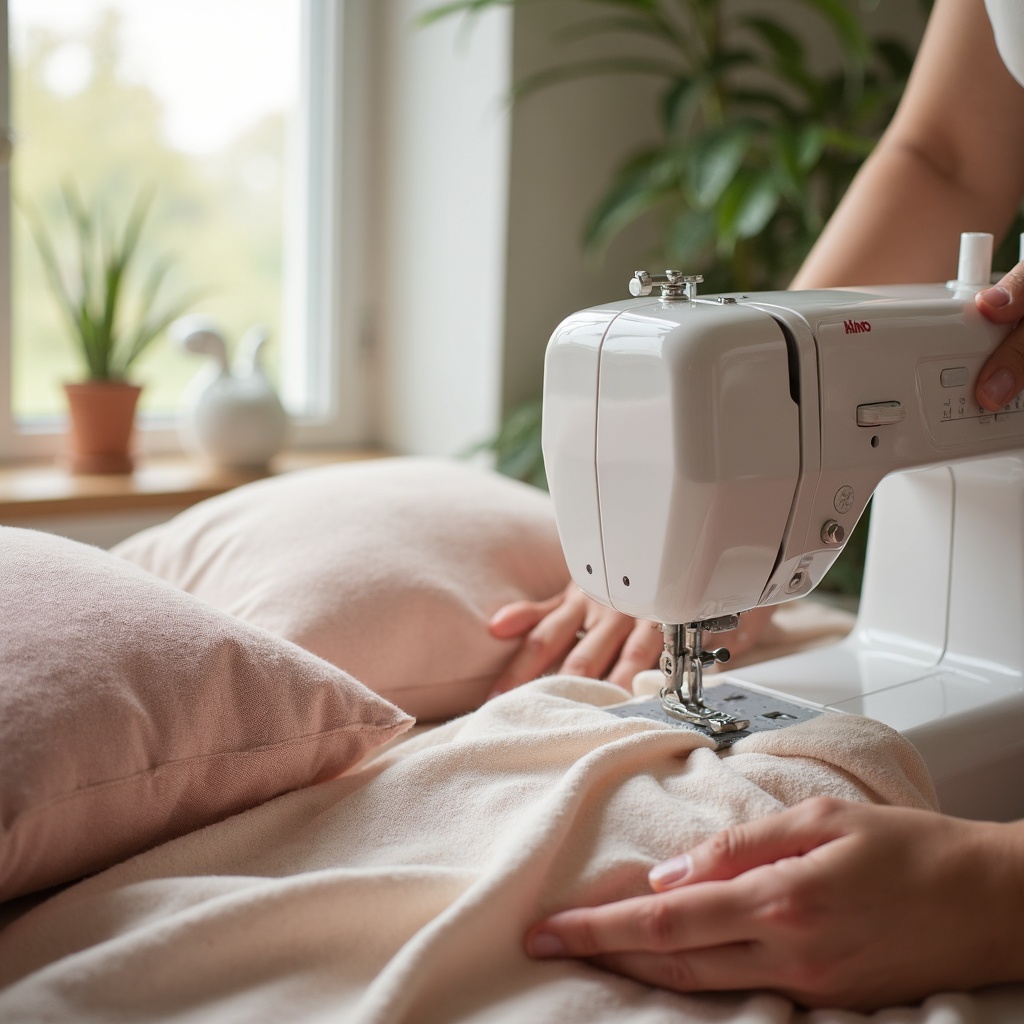
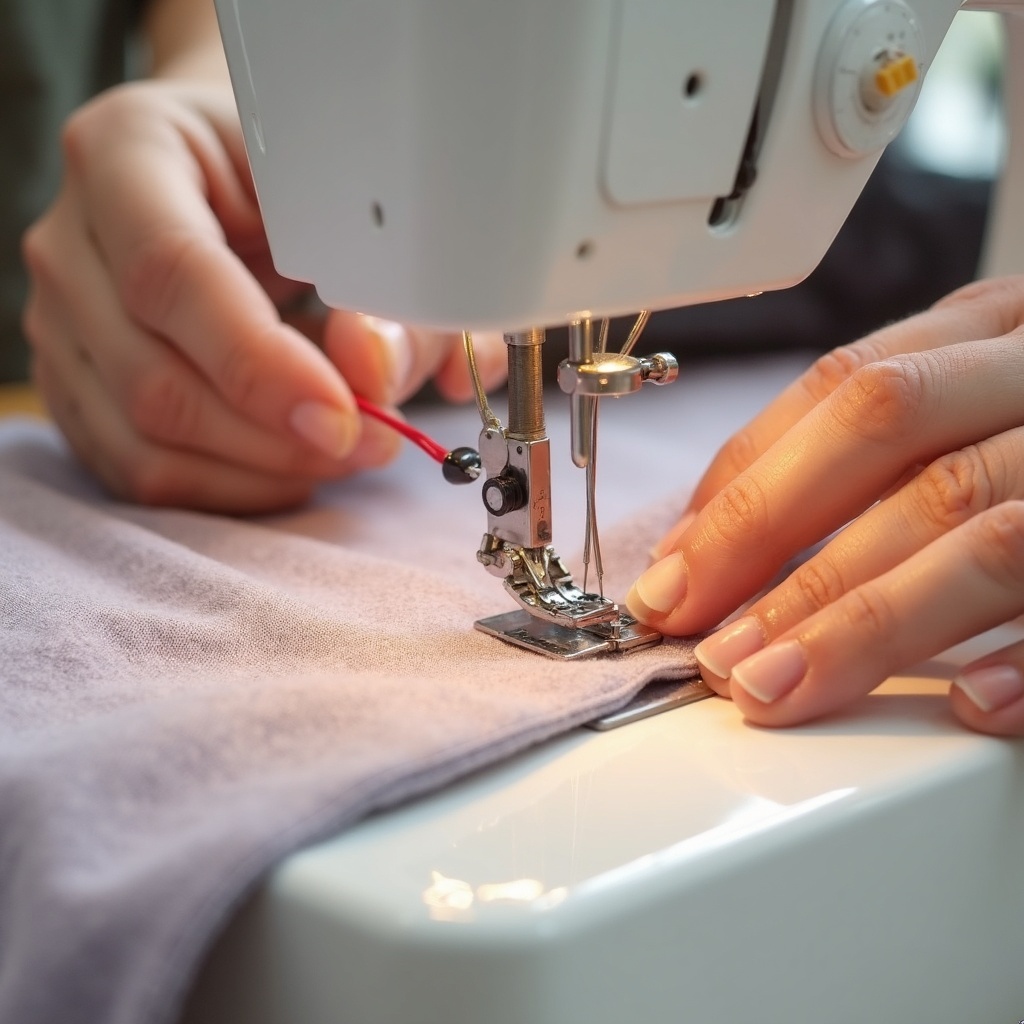
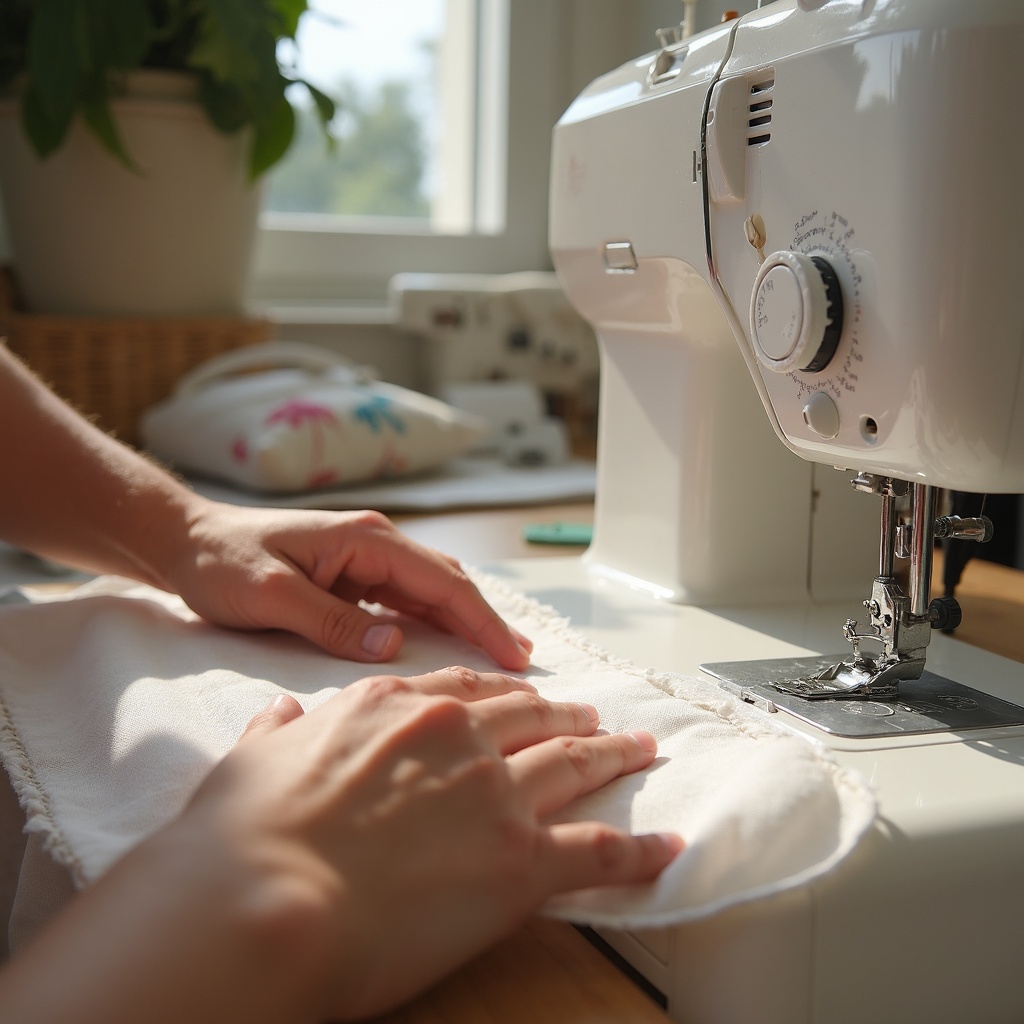
Step 5 — Sew the Edges
Now, it’s time to sew your cushion cover. Using a sewing machine, sew along the pinned edges, leaving an opening for the cushion insert. If you’re using a zipper, sew around it according to the instructions provided. Take your time to sew straight lines, and backstitch at the beginning and end of your seams to secure them. If you’re feeling adventurous, consider adding decorative stitches or patterns to enhance the design of your cushion.
Step 6 — Turn and Stuff
After sewing, carefully turn your cushion cover right side out through the opening. Use a pencil or a chopstick to push out the corners for a crisp finish. Once the cover is turned, it’s time to insert the cushion. Choose a cushion insert that fits snugly within the cover; it should be slightly larger than the cover to ensure a full look. Stuff the insert into the cover, making sure it fills all corners evenly.
Step 7 — Close the Opening
With the cushion insert in place, it’s time to close the opening. If you used a zipper, simply zip it up. If you opted for a simple opening, you can hand-stitch it closed using a slip stitch for a nearly invisible finish. Ensure the edges are aligned neatly before stitching to maintain a polished look. This final step is essential for ensuring your cushion looks complete and professional.
Step 8 — Add Finishing Touches
To elevate your cushion, consider adding some finishing touches. You might want to add decorative elements like piping or tassels along the edges. These details can enhance the overall look and feel of your cushion. Additionally, consider using fabric spray or a protective coating to keep your cushions looking fresh and clean, especially if they will be used frequently.
Step 9 — Arrange Your Cushions
Once your cushions are complete, it’s time to arrange them in your desired space. Play around with different placements and combinations to find the perfect arrangement. Consider mixing sizes and shapes for a more dynamic look. Don’t forget to take a step back and assess how they complement your room’s decor. The right arrangement can transform your space and make it feel more inviting.
Step 10 — Enjoy Your Creation
Finally, take a moment to appreciate your hard work! Sewing your cushions is not just about the end product; it’s also about the process. Enjoy the satisfaction of having created something beautiful and functional for your home. Share your creations with friends and family, and don’t hesitate to experiment with new designs and fabrics in the future. Your sewing journey has just begun!
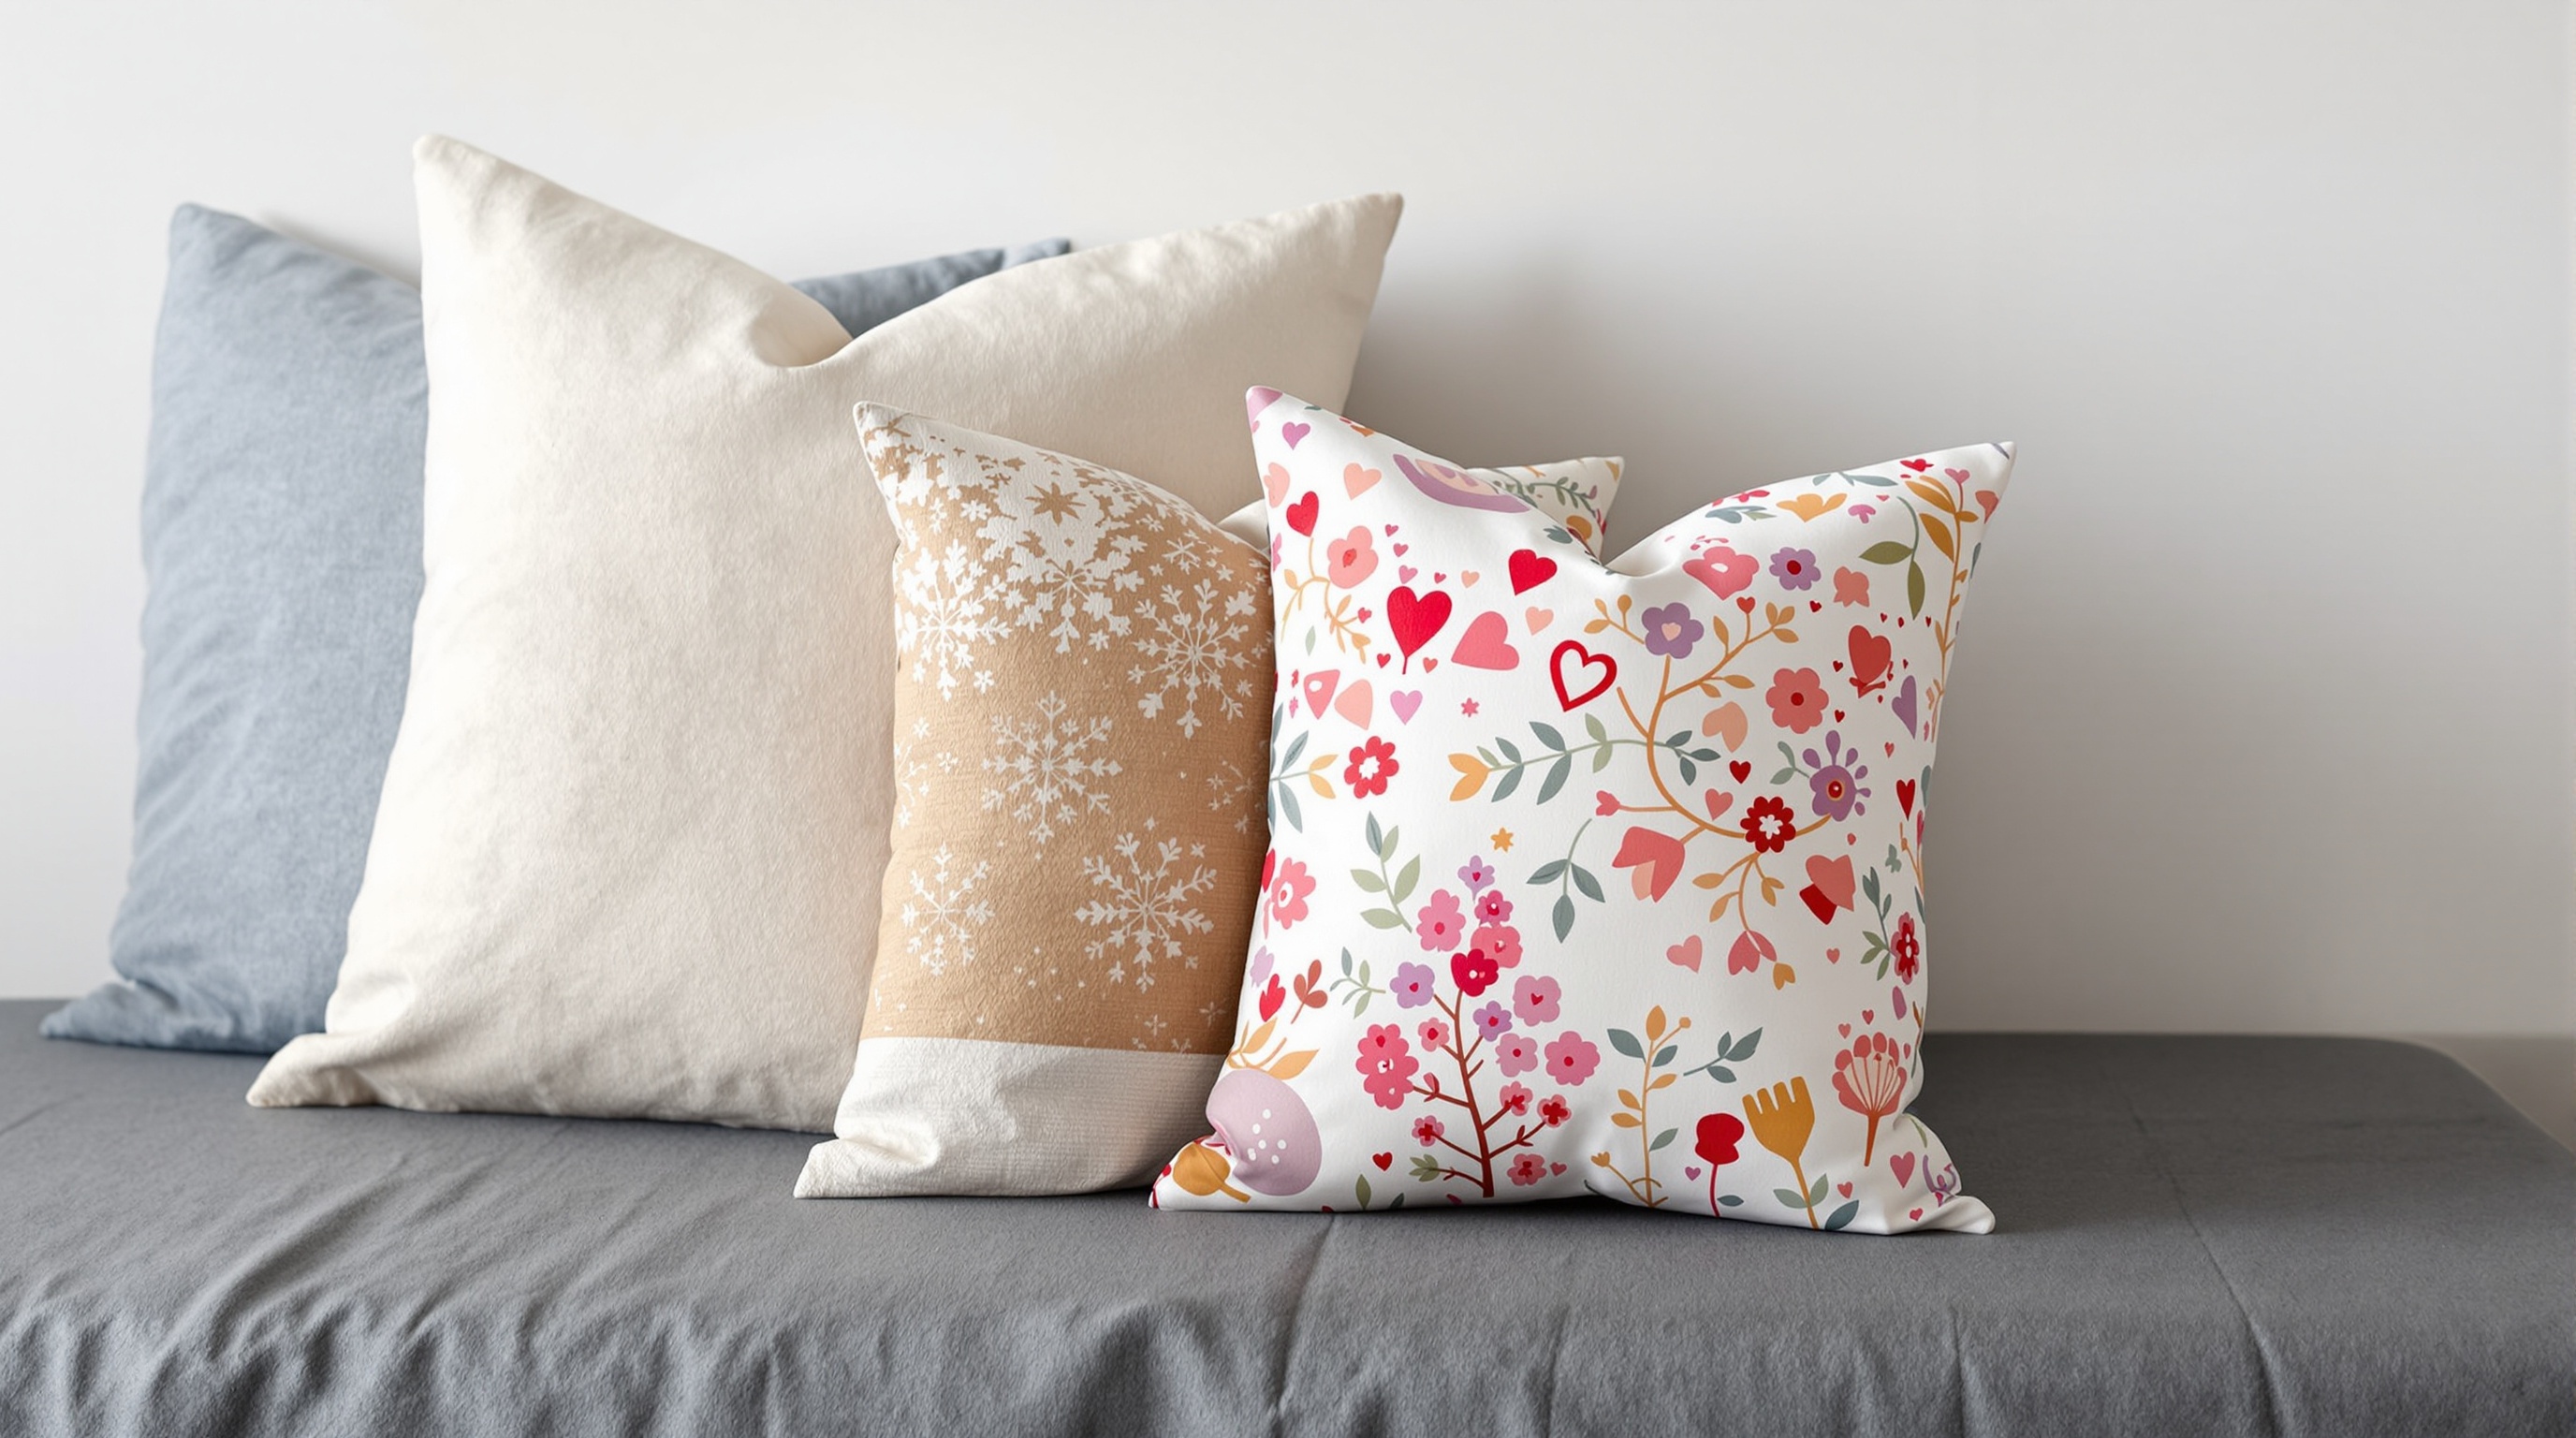
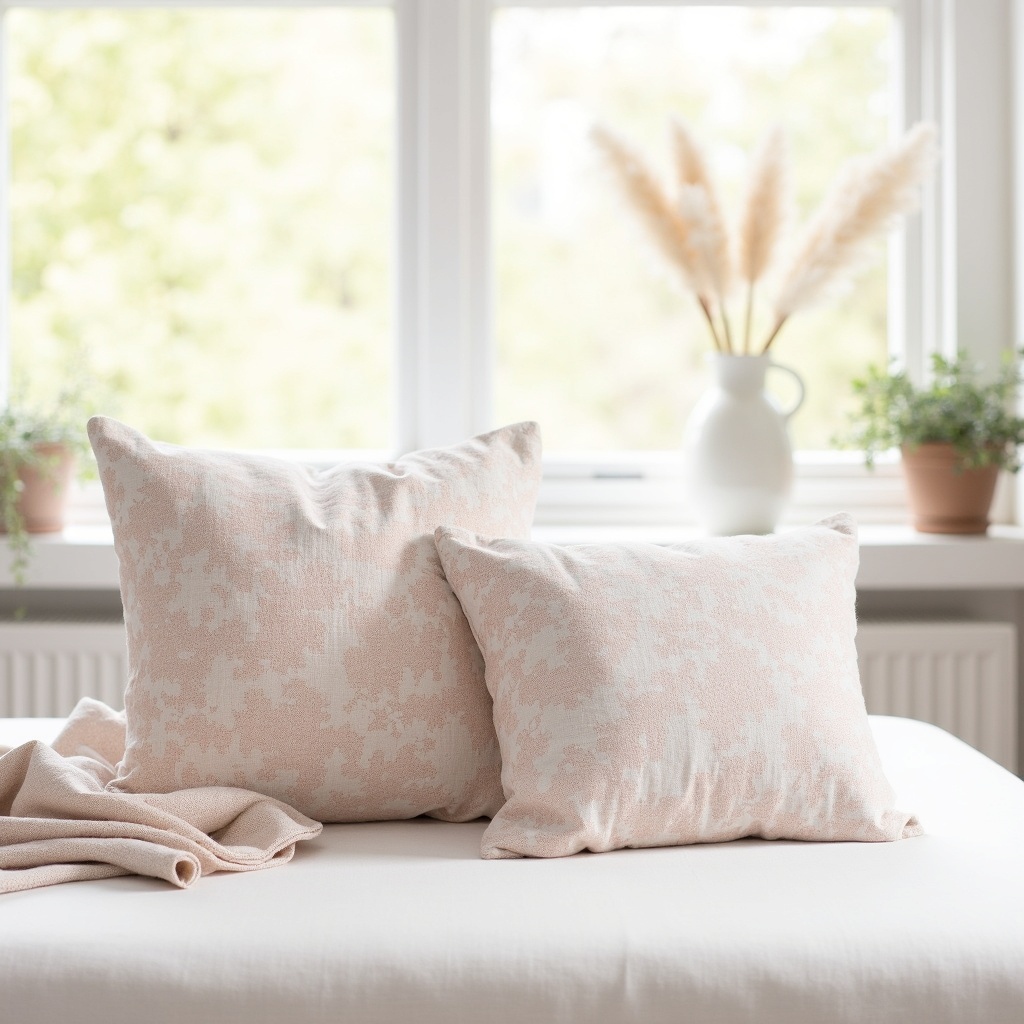
Final Result
Final Thoughts
Sewing cushions can be a rewarding and enjoyable project that adds a personal touch to your home. With the right materials and a bit of creativity, you can create cushions that not only enhance your decor but also provide comfort and style. Remember that practice makes perfect; don’t be discouraged if your first attempt isn’t flawless. Each cushion you make will improve your skills and confidence. So gather your supplies, follow the steps outlined in this guide, and let your creativity shine as you craft beautiful cushions for your space.
Pinterest-Optimised Pin
Save this for later so you can come back when you’re ready to make it.