Sewing Basics for Home Decor
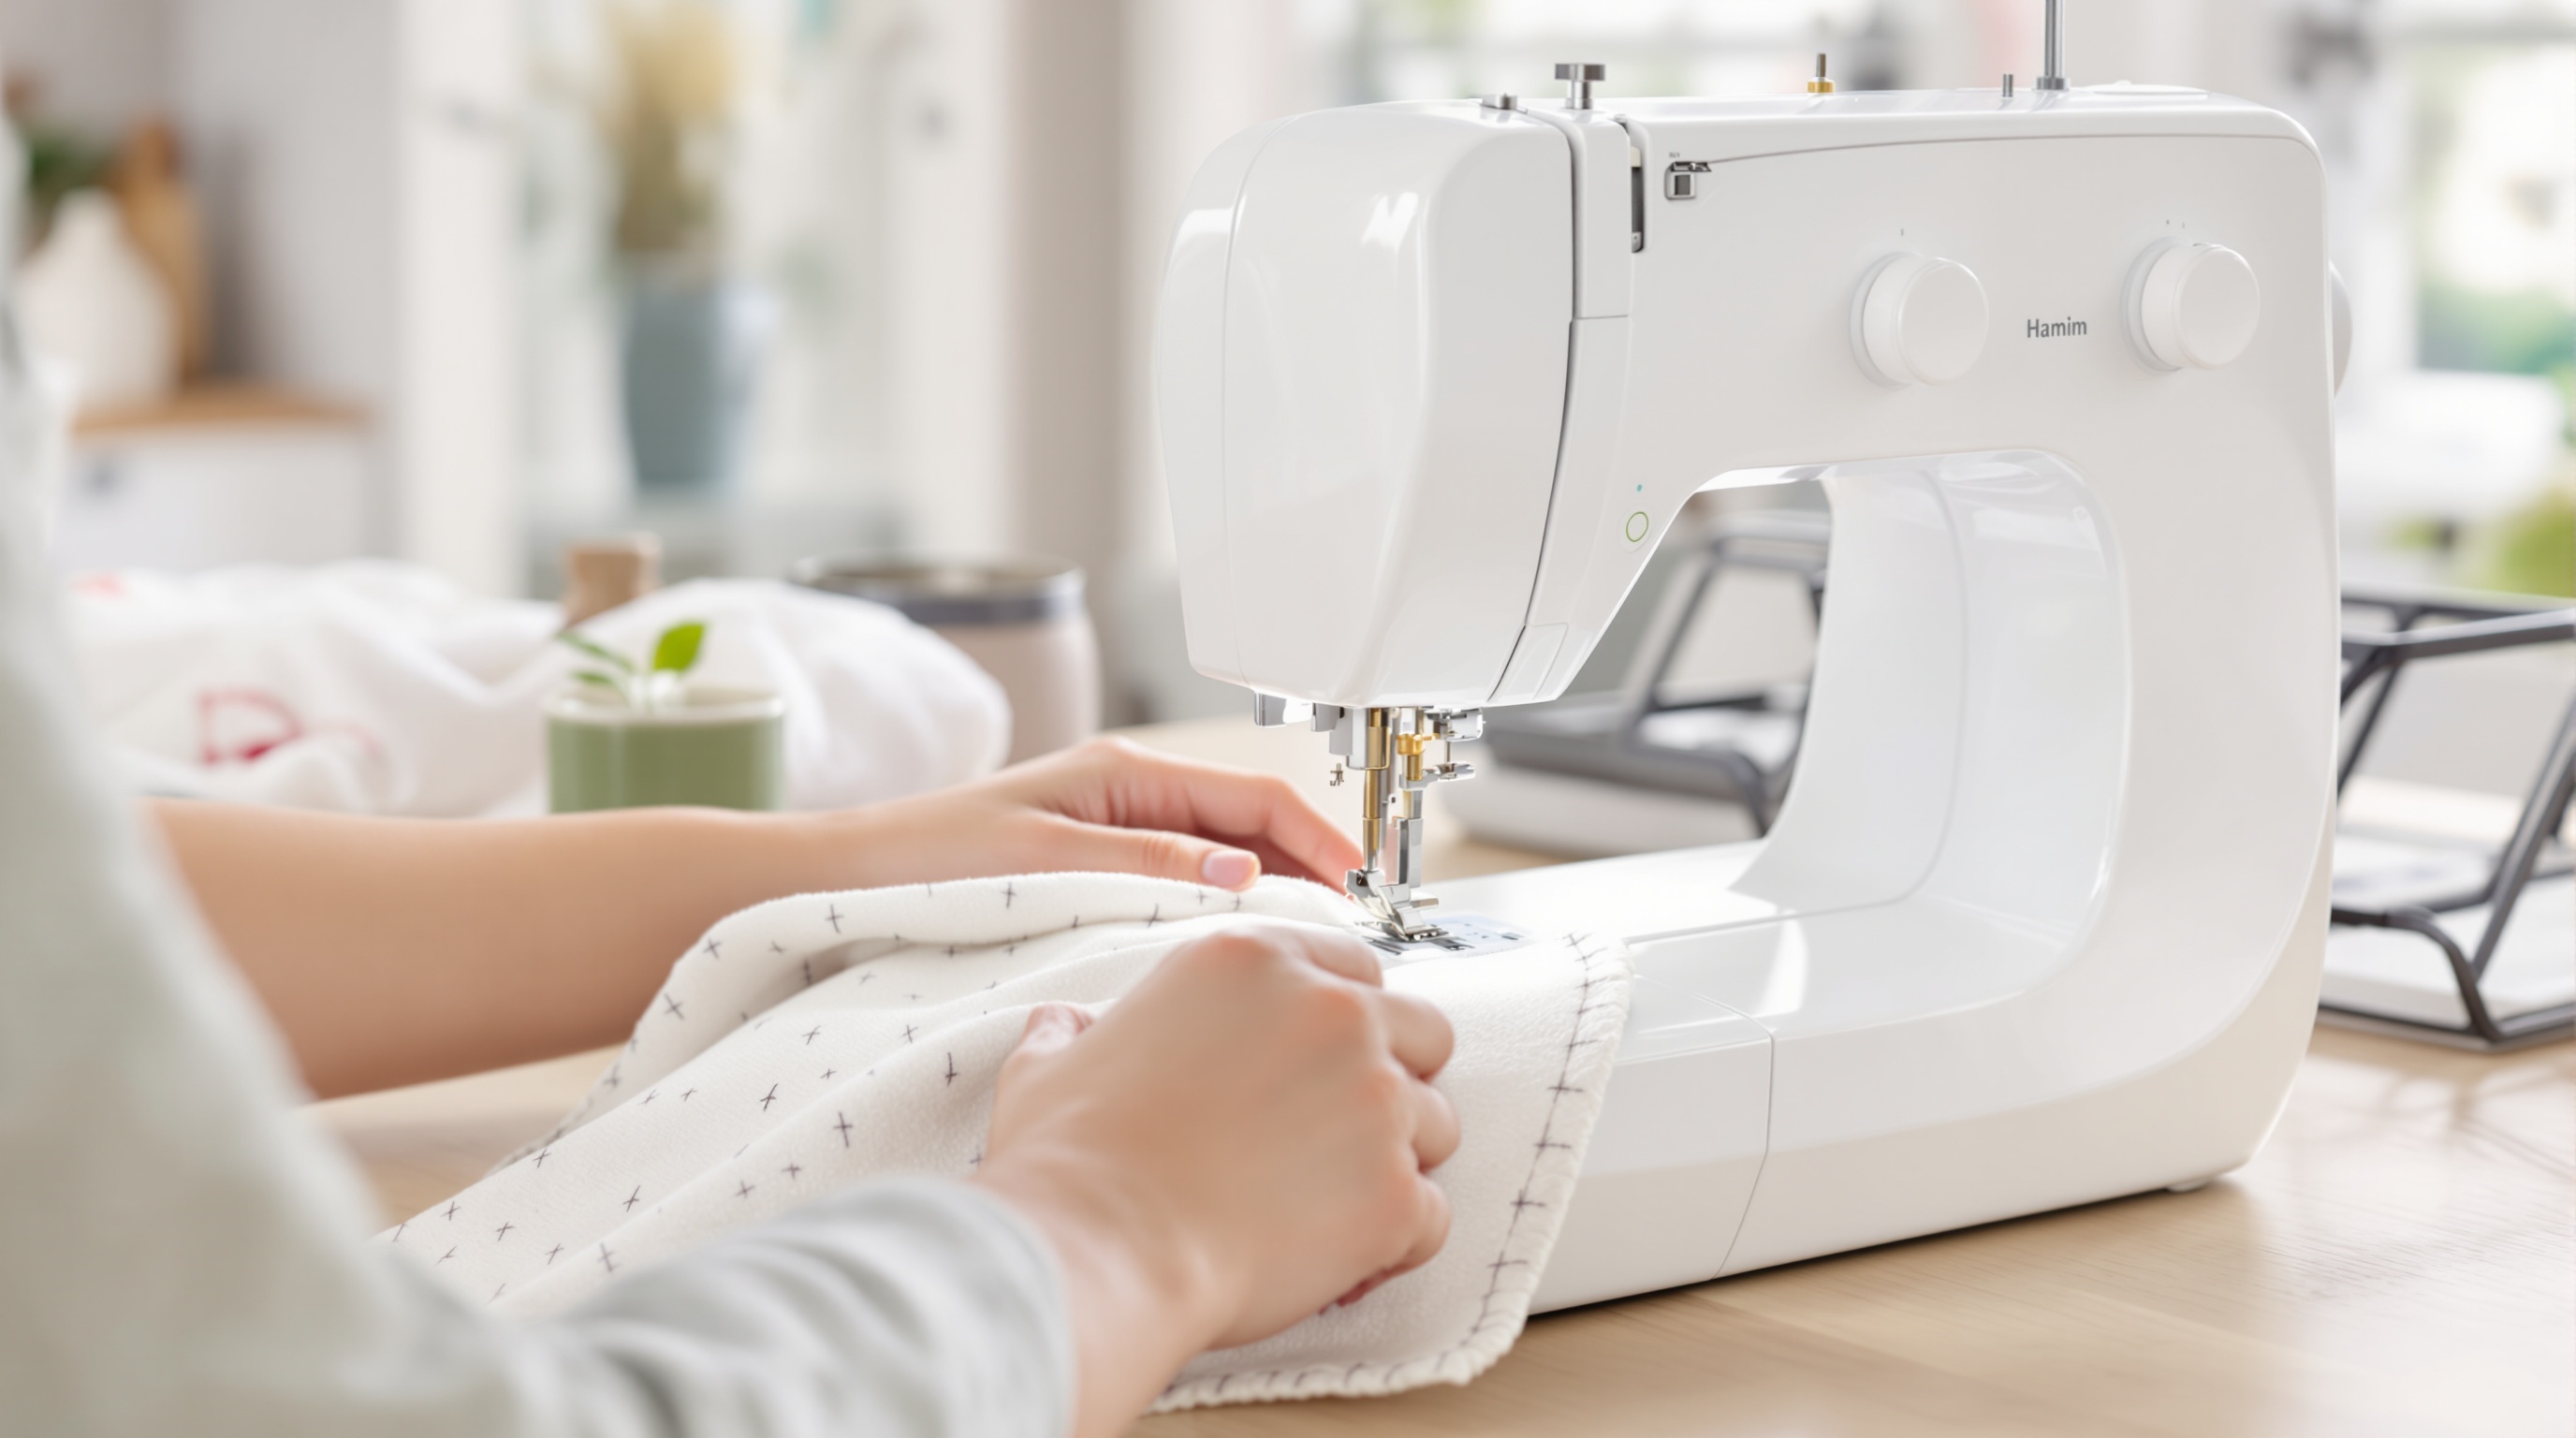
Creating your own home decor through sewing can be an incredibly rewarding experience. Not only does it allow you to personalize your living space, but it also provides a sense of accomplishment and creativity. Whether you’re a beginner or have some sewing experience, this guide will walk you through the basics of sewing for home decor. From choosing the right fabric to mastering essential techniques, you’ll be equipped to craft beautiful items for your home. Let’s dive into the world of sewing and explore how you can transform your space with your own creations.
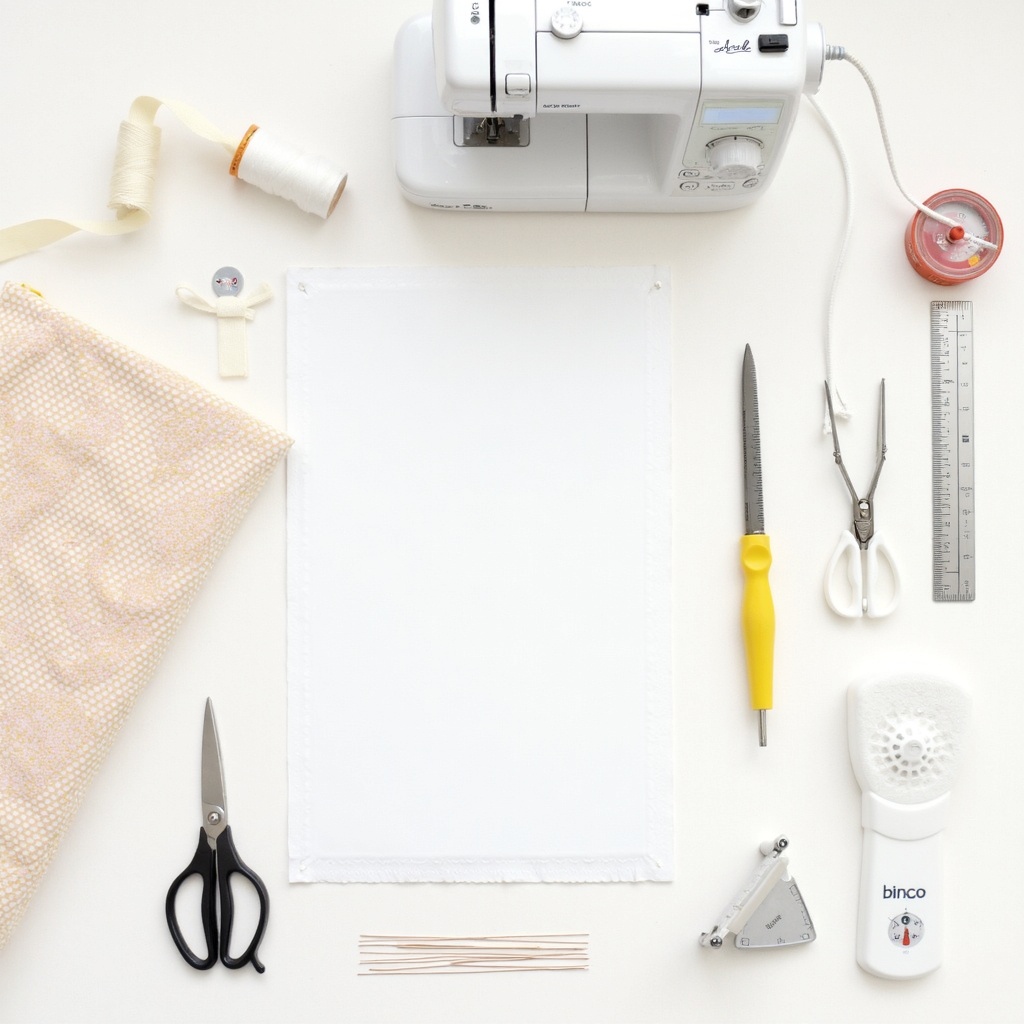
Supplies You’ll Need
- Fabric: Choose durable and washable fabrics suitable for home decor projects, such as cotton, linen, or upholstery fabric.
- Sewing Machine: A basic sewing machine with straight and zigzag stitch options will suffice for most projects.
- Thread: Ensure you have matching and contrasting threads to complement your fabric choices.
- Scissors: Invest in a good pair of fabric scissors for clean cuts and a smaller pair for trimming threads.
- Measuring Tape: Accurate measurements are crucial for well-fitted home decor items.
- Pins and Needles: Use pins to hold fabric in place and needles for hand-sewing tasks.
- Iron and Ironing Board: Pressing fabric before and after sewing ensures crisp, professional-looking results.
- Seam Ripper: Mistakes happen; a seam ripper will help you correct them easily.
- Ruler or Quilter’s Square: For precise cutting and measuring, especially for larger projects like curtains.
- Chalk or Fabric Marker: Marking tools are essential for transferring patterns and making adjustments.
- Pattern Paper: Useful for creating templates for custom designs.
- Rotary Cutter and Mat: Ideal for cutting straight lines quickly and efficiently, especially in quilting projects.
- Zippers, Buttons, and Velcro: These notions are essential for closures on pillows, cushions, and other items.
- Interfacing: Provides structure and support to fabrics, especially in items like placemats and table runners.
Step-by-Step Instructions
Step 1 — Selecting the Right Fabric
Choosing the right fabric is the first step in any sewing project. For home decor, consider both aesthetics and functionality. Fabrics like cotton and linen are versatile and easy to work with, while heavier fabrics like canvas or upholstery fabric provide durability for items like cushions and curtains. Always pre-wash your fabric to prevent shrinkage and ensure colorfastness.
Step 2 — Measuring and Cutting
Accurate measurements are crucial for a successful project. Use a measuring tape to measure your fabric and mark it with chalk or a fabric marker. Double-check your measurements before cutting to avoid mistakes. A rotary cutter and mat can help achieve straight, clean cuts, especially for larger pieces like curtains or tablecloths.
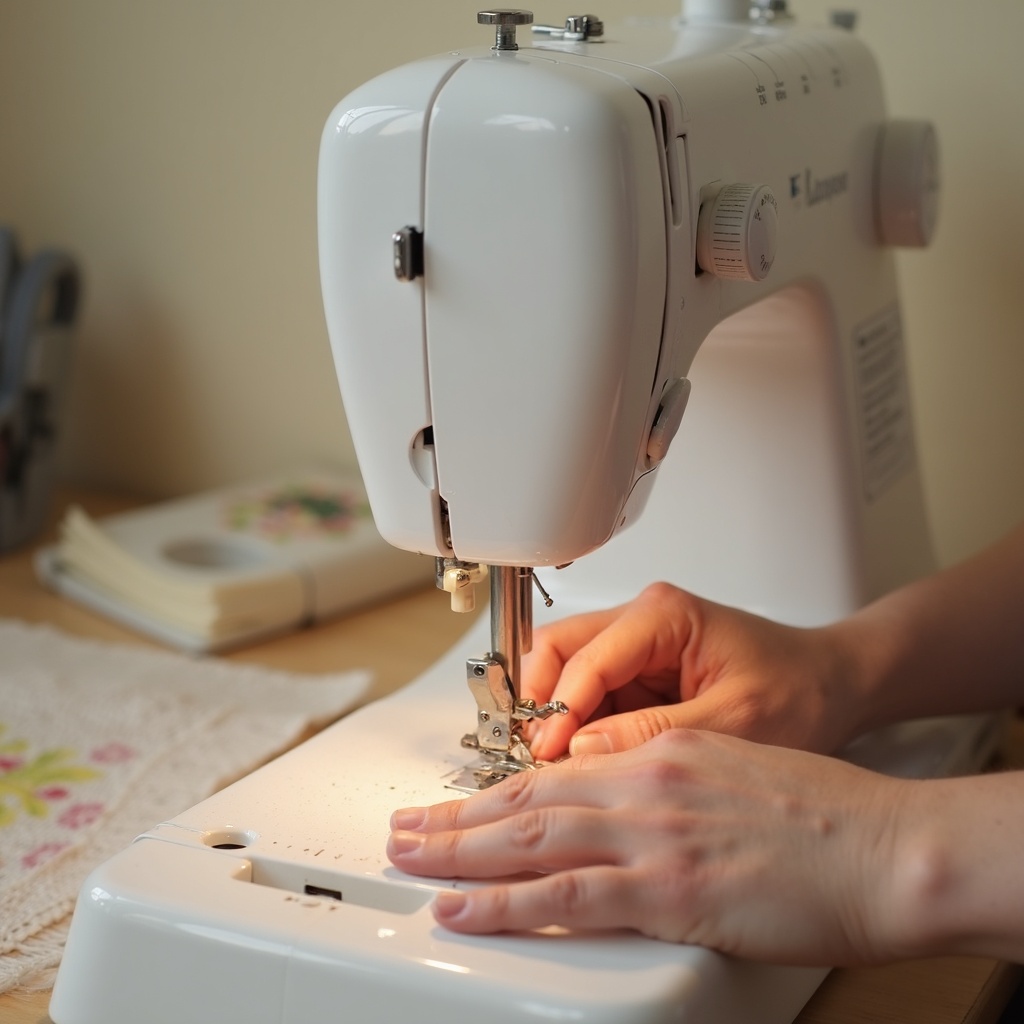
Step 3 — Setting Up Your Sewing Machine
Before starting, ensure your sewing machine is set up correctly. Thread the machine with a color that matches your fabric and test the tension on a scrap piece. Familiarize yourself with the machine’s settings, such as stitch length and type, to ensure smooth sewing. Regular maintenance, like cleaning the bobbin area, will keep your machine running smoothly.
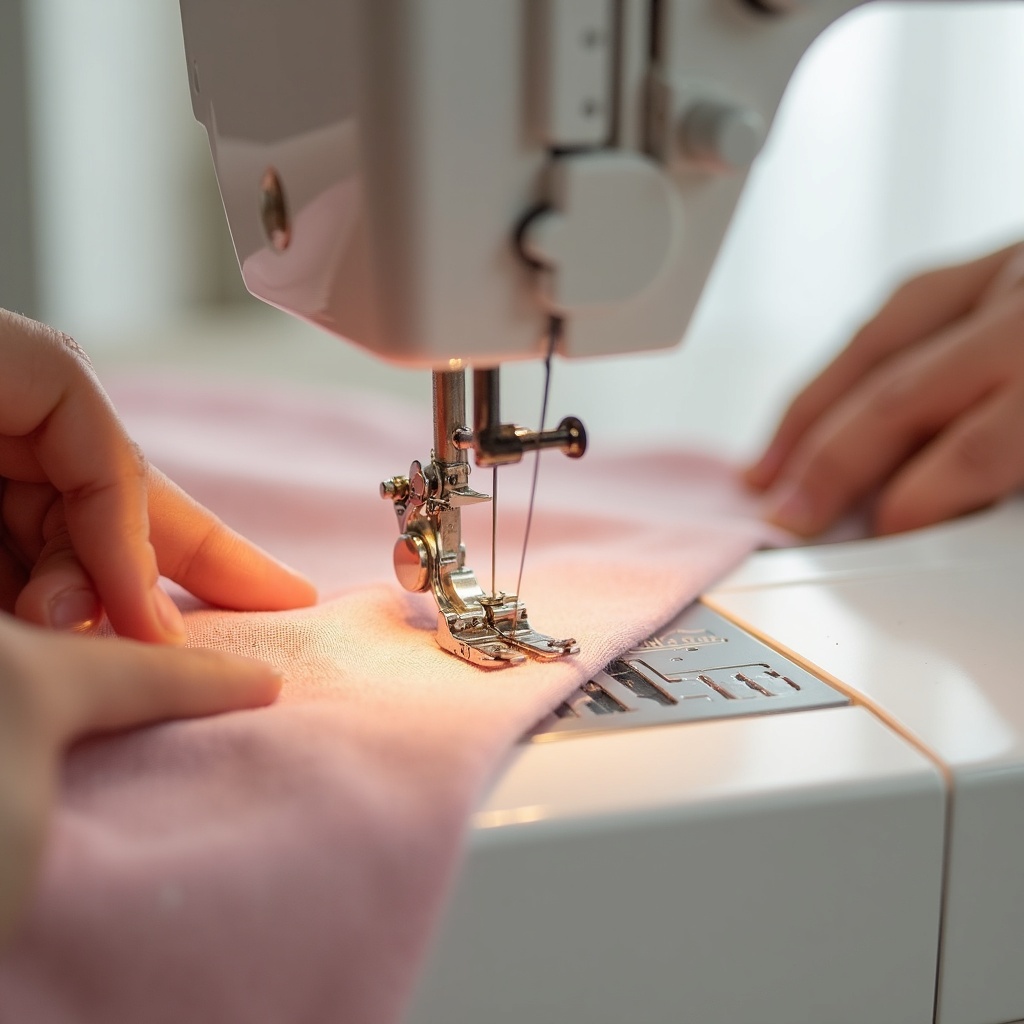
Step 4 — Basic Sewing Techniques
Mastering basic sewing techniques is essential for creating professional-looking home decor. Start with straight stitches, which are the foundation of most projects. Practice sewing seams with a consistent seam allowance, typically 1/4 to 1/2 inch. Learn to backstitch at the beginning and end of seams to secure them. Experiment with zigzag stitches for finishing raw edges or adding decorative touches.
Step 5 — Adding Embellishments
Embellishments can elevate your home decor items from simple to stunning. Consider adding trims, such as lace or piping, to edges for a decorative finish. Appliqué and embroidery can personalize items like pillows or table runners. Use fabric paint or stencils to add unique designs. Ensure embellishments are securely attached and consider their practicality for the item’s use.
Step 6 — Constructing Pillows and Cushions
Pillows and cushions are excellent beginner projects. Start by cutting two identical fabric squares or rectangles. Sew them together with the right sides facing, leaving a small opening for turning. After turning the piece right side out, stuff it with filling and hand-sew the opening closed. Experiment with different shapes and sizes, and consider adding zippers or buttons for removable covers.
Step 7 — Making Curtains
Curtains can dramatically change a room’s ambiance. Measure your windows accurately, allowing for hems and rod pockets. Cut your fabric to size and sew the side hems first. Create a rod pocket by folding over the top edge and sewing it down. Hem the bottom to your desired length. Consider adding lining for extra insulation and light control.
Step 8 — Crafting Table Linens
Table linens, such as tablecloths, runners, and napkins, add a touch of elegance to dining areas. Choose fabrics that complement your decor and are easy to clean. For a tablecloth, measure your table and add extra for drape. Hem all edges for a neat finish. For napkins, cut squares of fabric, fold the edges, and sew a narrow hem. Experiment with decorative stitches or trims for added flair.
Step 9 — Creating Slipcovers
Slipcovers can refresh old furniture and protect it from wear. Measure your furniture carefully, noting all dimensions and shapes. Use pattern paper to create templates for each section. Cut your fabric according to the templates, adding seam allowances. Sew the pieces together, fitting them to the furniture as you go. Consider adding zippers or Velcro for easy removal and washing.
Step 10 — Final Touches and Quality Check
Before considering your project complete, take time to inspect your work. Check all seams for strength and ensure there are no loose threads. Press your finished item with an iron to remove any wrinkles and give it a polished look. If you’re gifting the item, consider adding a handmade tag or label. A thorough quality check ensures your home decor items are both beautiful and durable.
Before & After
Final Thoughts
Sewing for home decor is a fulfilling hobby that combines creativity with practicality. As you gain confidence in your skills, you’ll find endless possibilities to enhance your living space. Remember, practice makes perfect, and each project is an opportunity to learn and improve. Don’t be afraid to experiment with new techniques and materials. The satisfaction of creating something with your own hands is unmatched, and the personal touch you add to your home will be cherished for years to come. Happy sewing!
Pin It for Later
Save this project to your Pinterest board so you can find it when you’re ready to make it.
