Peel and Stick Tiles
Peel and stick tiles are a popular choice for DIY home improvement projects due to their ease of installation and versatility. These tiles come in a variety of designs, colors, and textures, allowing homeowners to achieve a professional look without the need for extensive tools or skills. Whether you’re looking to update your kitchen backsplash, bathroom walls, or even flooring, peel and stick tiles offer a cost-effective solution. In this guide, we will walk you through the process of selecting, preparing, and installing peel and stick tiles, ensuring a smooth and successful project from start to finish.
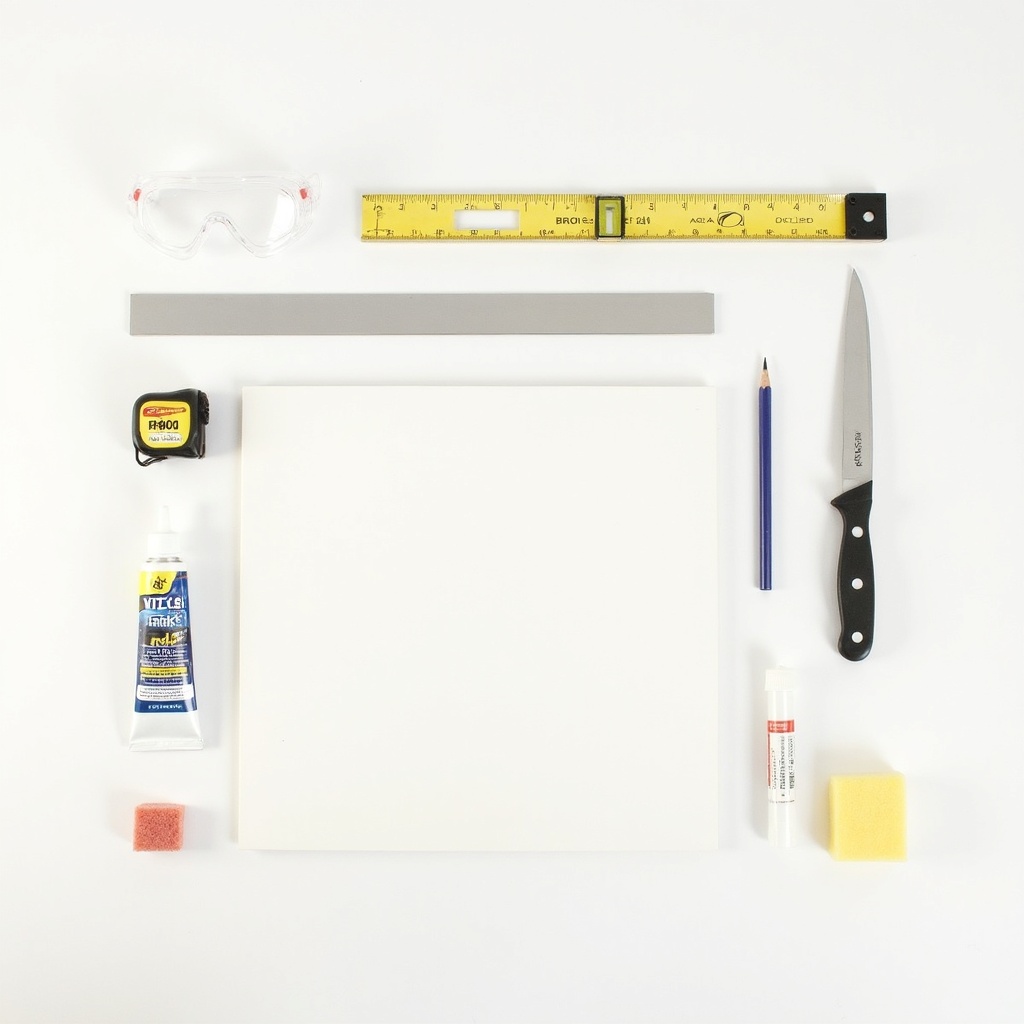
Supplies You’ll Need
- Peel and stick tiles: Choose a design that complements your space.
- Measuring tape: For accurate measurements of the area to be tiled.
- Utility knife: Essential for cutting tiles to fit around edges and corners.
- Straight edge or ruler: Helps ensure straight cuts and alignment.
- Level: To check that your tiles are installed evenly.
- Pencil: For marking measurements and guidelines on the surface.
- Adhesive remover: Useful for cleaning the surface before installation.
- Sponge or cloth: For cleaning the surface and wiping away excess adhesive.
- Grout (optional): If you want to add a finished look between tiles.
- Caulk: For sealing edges and corners, especially in wet areas.
- Safety goggles: To protect your eyes while cutting tiles.
- Gloves: To keep your hands clean and protected during installation.
Step-by-Step Instructions
Step 1 — Choose Your Tiles
Selecting the right peel and stick tiles is crucial for achieving the desired aesthetic in your space. Consider the color, pattern, and texture that will best complement your existing decor. Visit local home improvement stores or browse online to explore various options. Take samples home to see how they look in your lighting conditions. Additionally, think about the size of the tiles; larger tiles can make a space feel bigger, while smaller tiles can add intricate detail. Make sure to purchase enough tiles to cover your area, accounting for any cuts or mistakes.
Step 2 — Prepare the Surface
Before installation, it’s essential to prepare the surface where the tiles will be applied. Start by cleaning the area thoroughly to remove any dust, grease, or old adhesive. Use an adhesive remover if necessary. Ensure the surface is smooth and dry; any imperfections can affect the adhesion of the tiles. If you’re tiling over existing tiles, make sure they are securely attached and clean. For painted surfaces, ensure the paint is in good condition and not peeling. If needed, sand down any rough areas to create a flat surface for the tiles.
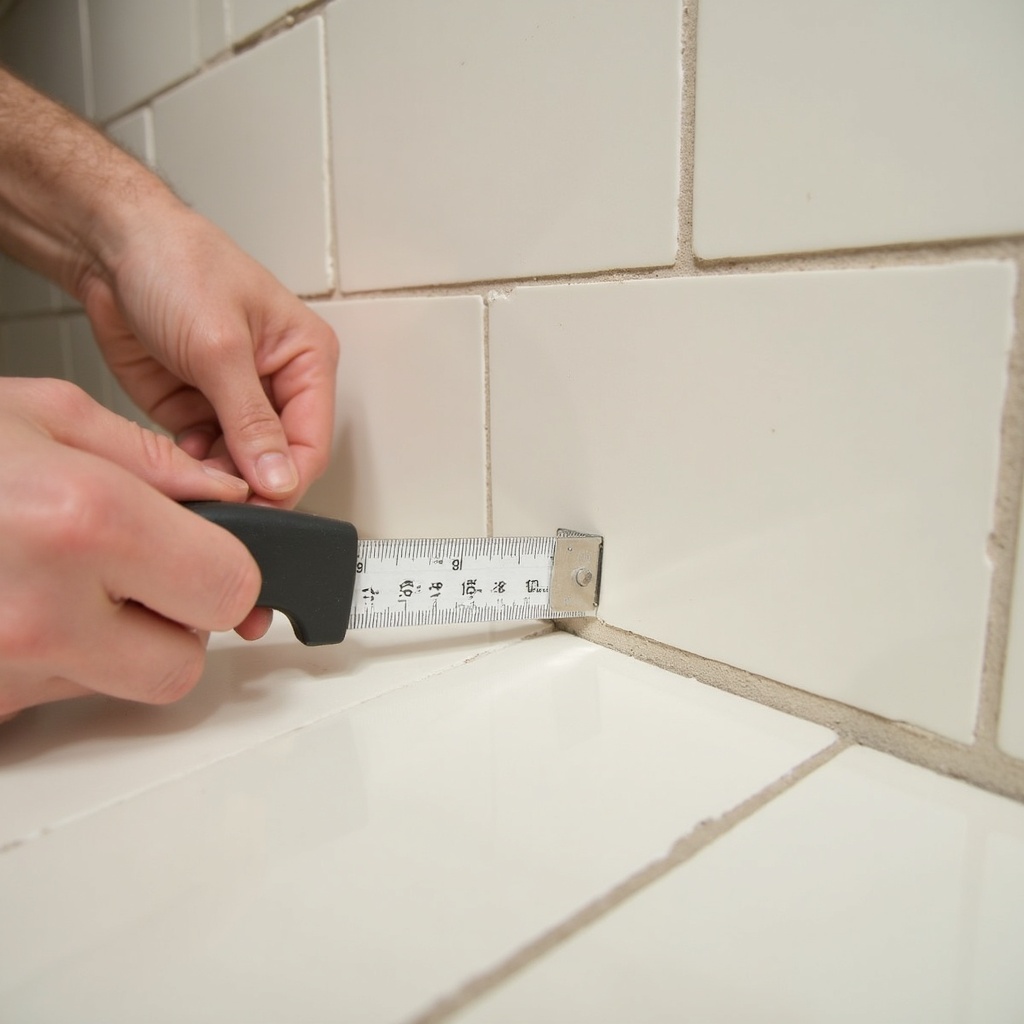
Step 3 — Measure and Plan
Accurate measurements are key to a successful tile installation. Use a measuring tape to determine the dimensions of the area you plan to cover. Mark the center point of the wall or floor to help with alignment. From this center point, measure outwards to ensure that your tiles will be evenly placed. Create a layout plan on paper, sketching how the tiles will fit together. This step will help you visualize the final look and identify any necessary cuts before you begin.
Step 4 — Cut the Tiles
Once you have your layout planned, it’s time to cut the tiles to fit your space. Use a utility knife and a straight edge to make clean cuts. Measure the area where the tile will go, mark it on the tile, and then cut carefully. For intricate cuts around outlets or corners, take your time to ensure a precise fit. If you’re working with larger tiles, consider using a tile cutter for more complex cuts. Always wear safety goggles while cutting to protect your eyes from any debris.
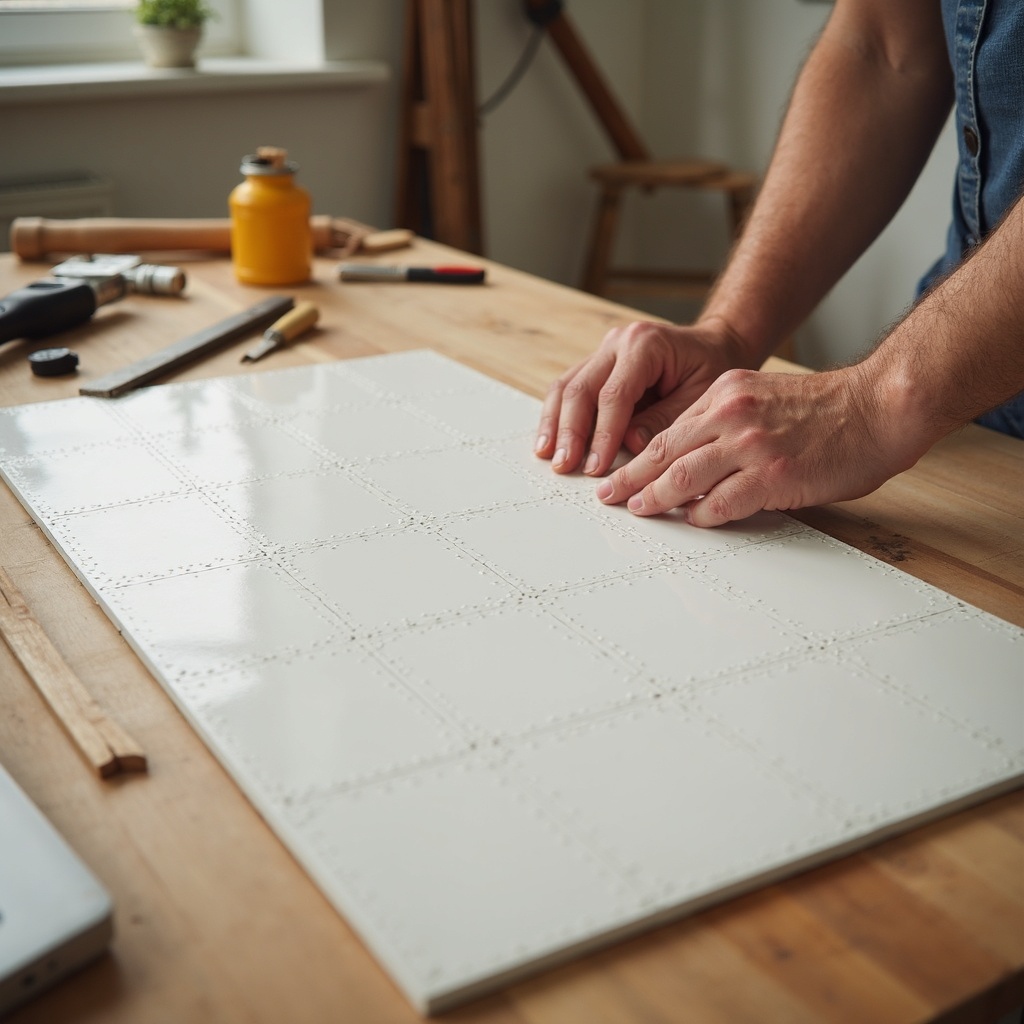
Step 5 — Start Installing
Begin the installation process by peeling the backing off the first tile and aligning it with your marked center point. Press it firmly against the surface, starting from the center and working your way outwards. This technique helps prevent air bubbles from forming. Use a level to ensure the tile is straight and adjust as necessary before pressing it down completely. Continue this process, working in rows and ensuring each tile is snug against the next. Take your time to maintain alignment and avoid rushing through this step.
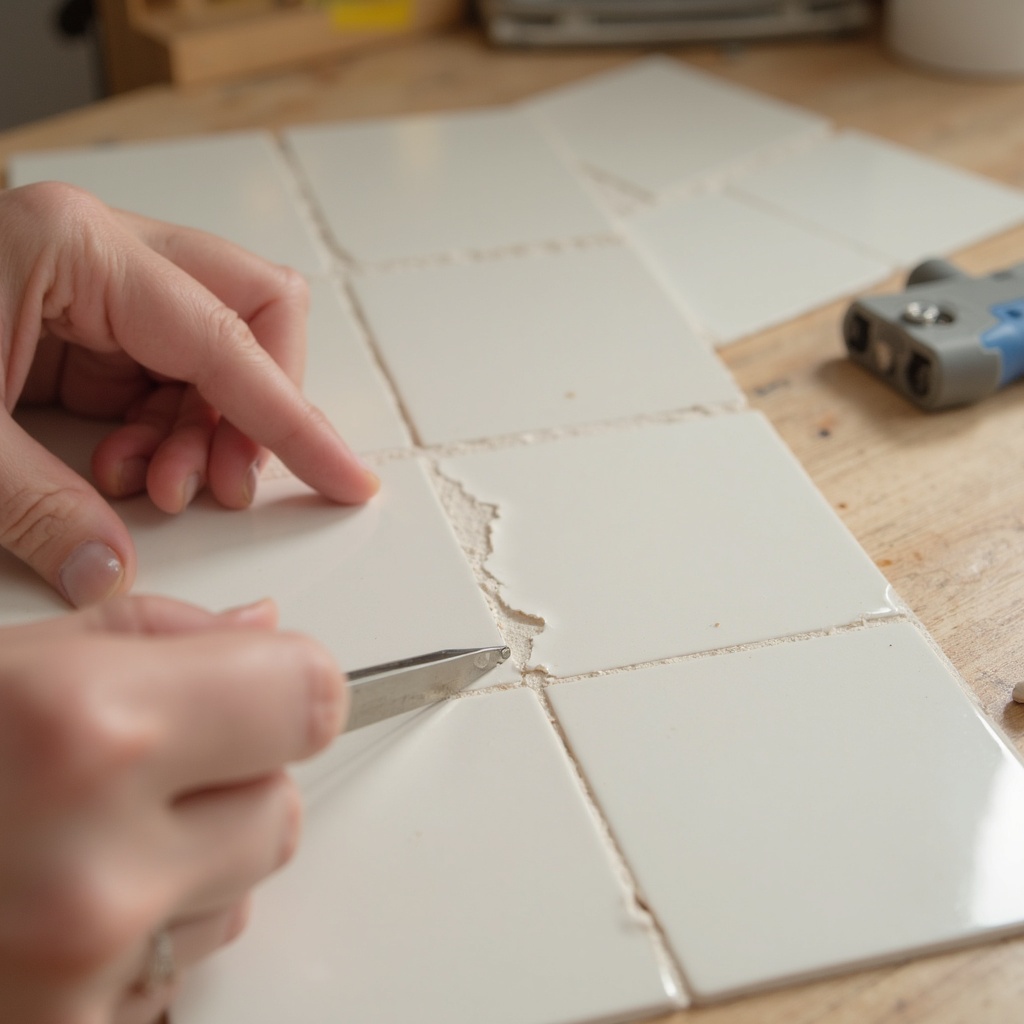
Step 6 — Apply Grout (Optional)
If you want to enhance the look of your peel and stick tiles, consider applying grout between the tiles. This step is optional but can add a professional finish to your project. Choose a grout color that complements your tiles. Mix the grout according to the package instructions and use a grout float to apply it between the tiles. Wipe away any excess grout with a damp sponge before it dries. Allow the grout to cure as per the manufacturer’s instructions for the best results.
Step 7 — Seal the Edges
To ensure your peel and stick tiles last and look great, sealing the edges is crucial, especially in areas exposed to moisture like kitchens and bathrooms. Use caulk to seal around the edges of the tiles, filling in any gaps where water could seep in. Choose a caulk that matches the color of your tiles for a seamless look. Apply the caulk evenly and smooth it out with your finger or a caulk smoothing tool. This step not only protects your installation but also gives it a polished appearance.
Step 8 — Final Touches
After the tiles are installed and any grout or caulk has dried, take a step back and inspect your work. Look for any areas that may need touch-ups or adjustments. Clean the surface of the tiles with a damp cloth to remove any dust or fingerprints. If you used grout, ensure it’s fully cured before exposing it to moisture. Consider adding trim or molding around the edges for a finished look. This final touch can elevate the overall appearance of your project and make it look professionally done.
Step 9 — Enjoy Your New Space
Once everything is complete, take a moment to admire your hard work! Peel and stick tiles can dramatically transform a space, and now you can enjoy the fruits of your labor. Whether it’s a kitchen, bathroom, or any other area, your new tiles will add style and functionality. Don’t forget to share your project with friends and family or on social media to inspire others to take on their own DIY tile projects.
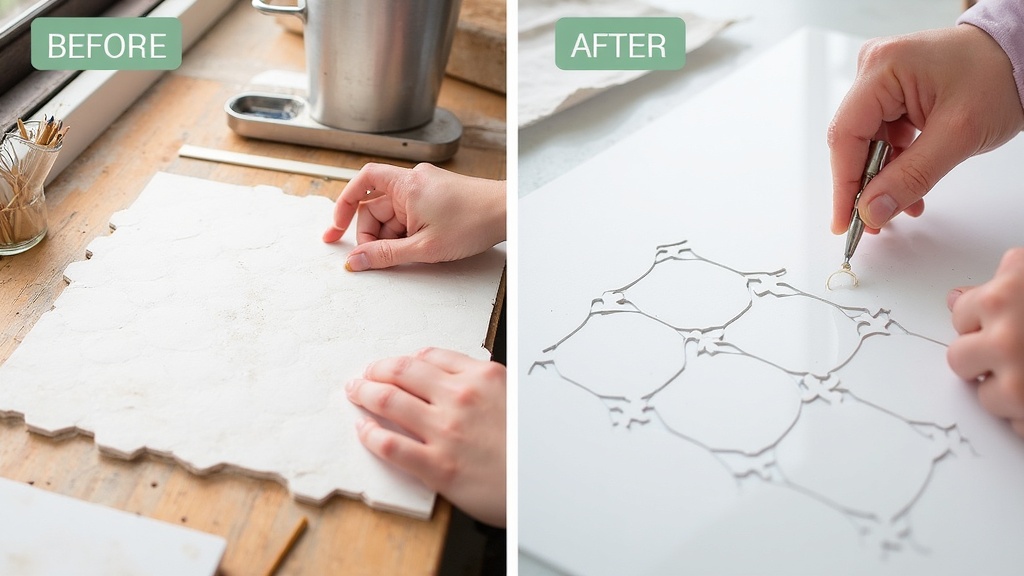
Before & After
Final Thoughts
Installing peel and stick tiles can be a rewarding DIY project that enhances the beauty and functionality of your home. With careful planning, preparation, and execution, you can achieve a professional-looking result without the need for extensive tools or expertise. Remember to take your time during each step, from selecting the right tiles to sealing the edges for durability. Enjoy the satisfaction of transforming your space and the confidence that comes with completing a successful home improvement project. Happy tiling!