Furniture Painting Masterclass

Welcome to the Furniture Painting Masterclass, where creativity meets craftsmanship. This course is designed for both beginners and seasoned DIY enthusiasts looking to transform ordinary pieces into extraordinary works of art. Whether you’re aiming to refresh an old dresser or add a pop of color to a plain chair, this masterclass will guide you through every step of the process. We will explore various techniques, tools, and finishes to ensure your project not only looks professional but also stands the test of time. By the end of this course, you’ll have the skills and confidence to tackle any furniture painting project with ease and flair.
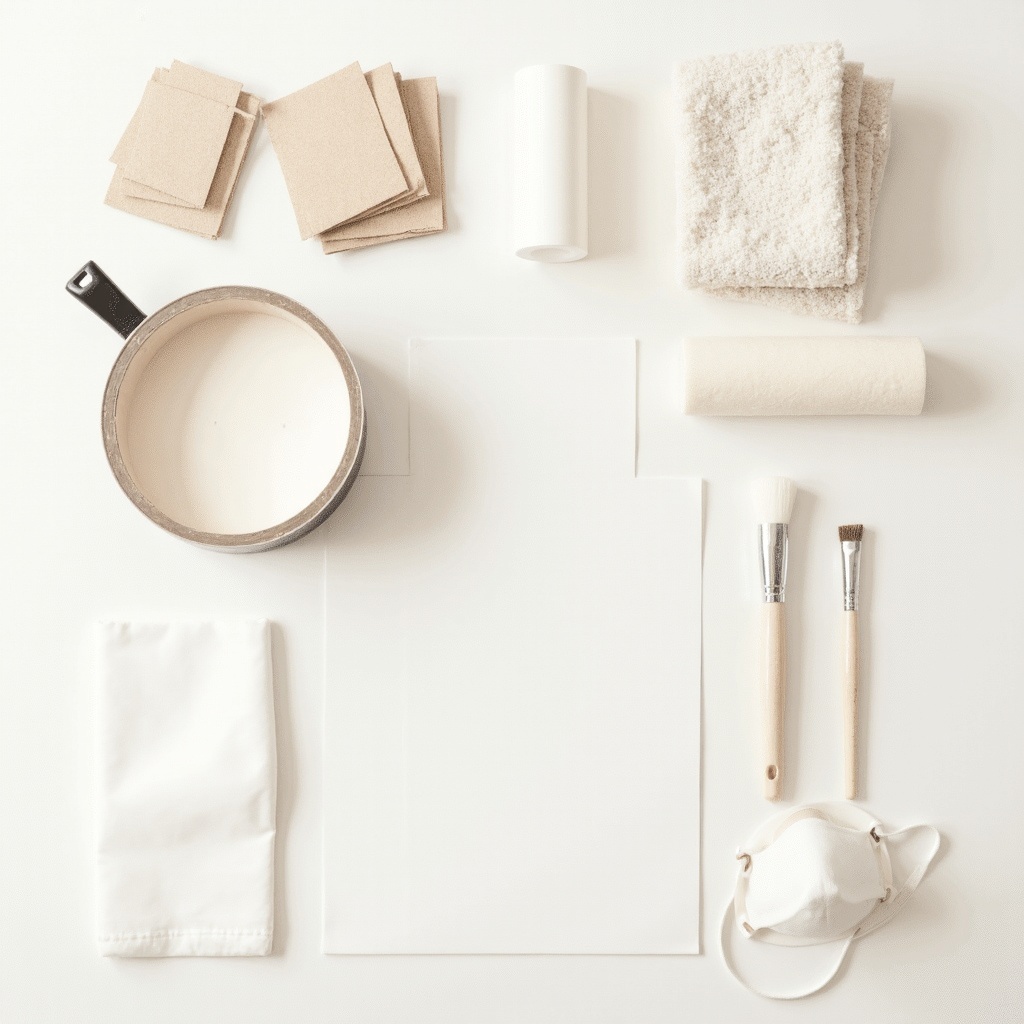
Supplies You’ll Need
- Primer: Essential for preparing the surface and ensuring the paint adheres properly.
- Sandpaper (various grits): Used to smooth surfaces and remove old finishes.
- Paintbrushes: Different sizes for detailed work and larger areas.
- Foam rollers: Ideal for achieving a smooth, even finish on flat surfaces.
- Drop cloths: Protects your workspace from paint spills and splatters.
- Painter’s tape: Helps create clean lines and protect areas you don’t want painted.
- Paint (latex or chalk): Choose based on the desired finish and durability.
- Sealer or topcoat: Provides a protective layer to enhance durability.
- Cleaning cloths: For wiping down surfaces before and after painting.
- Stir sticks: Ensures paint is well-mixed for consistent color.
- Respirator mask: Protects from fumes and dust during sanding and painting.
- Gloves: Keeps your hands clean and protected from chemicals.
- Measuring tape: Useful for planning designs and ensuring precision.
- Putty knife: For filling holes and smoothing surfaces before painting.
Step-by-Step Instructions
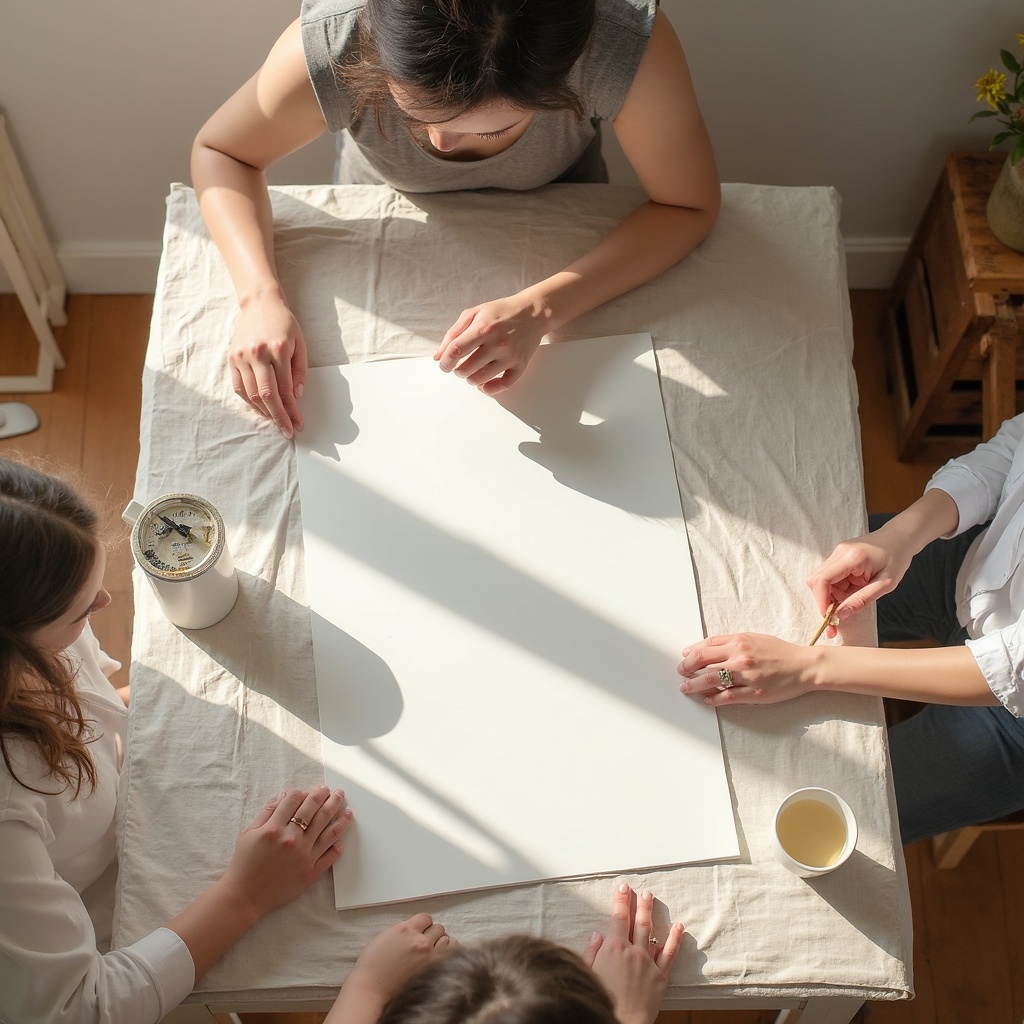
Step 1 — Preparation
Before you begin painting, preparation is key to achieving a professional finish. Start by cleaning the furniture thoroughly to remove any dust, grease, or old wax. Use a mild detergent and a damp cloth, ensuring the surface is completely dry before moving on. Next, inspect the piece for any damage, such as scratches or dents, and use wood filler to repair these imperfections. Once the filler is dry, sand the entire surface with medium-grit sandpaper to create a smooth, even base for the primer. This step is crucial for ensuring the paint adheres properly and lasts longer.
Step 2 — Priming
Applying a primer is an essential step that should not be skipped. Primer helps the paint adhere better and provides a uniform surface for the paint to stick to. Choose a primer that is compatible with your paint type. Apply it evenly using a brush or roller, and allow it to dry completely. This step not only enhances the durability of the paint but also helps in achieving a more vibrant color. If the furniture is dark or has stains, consider using a stain-blocking primer for better results.
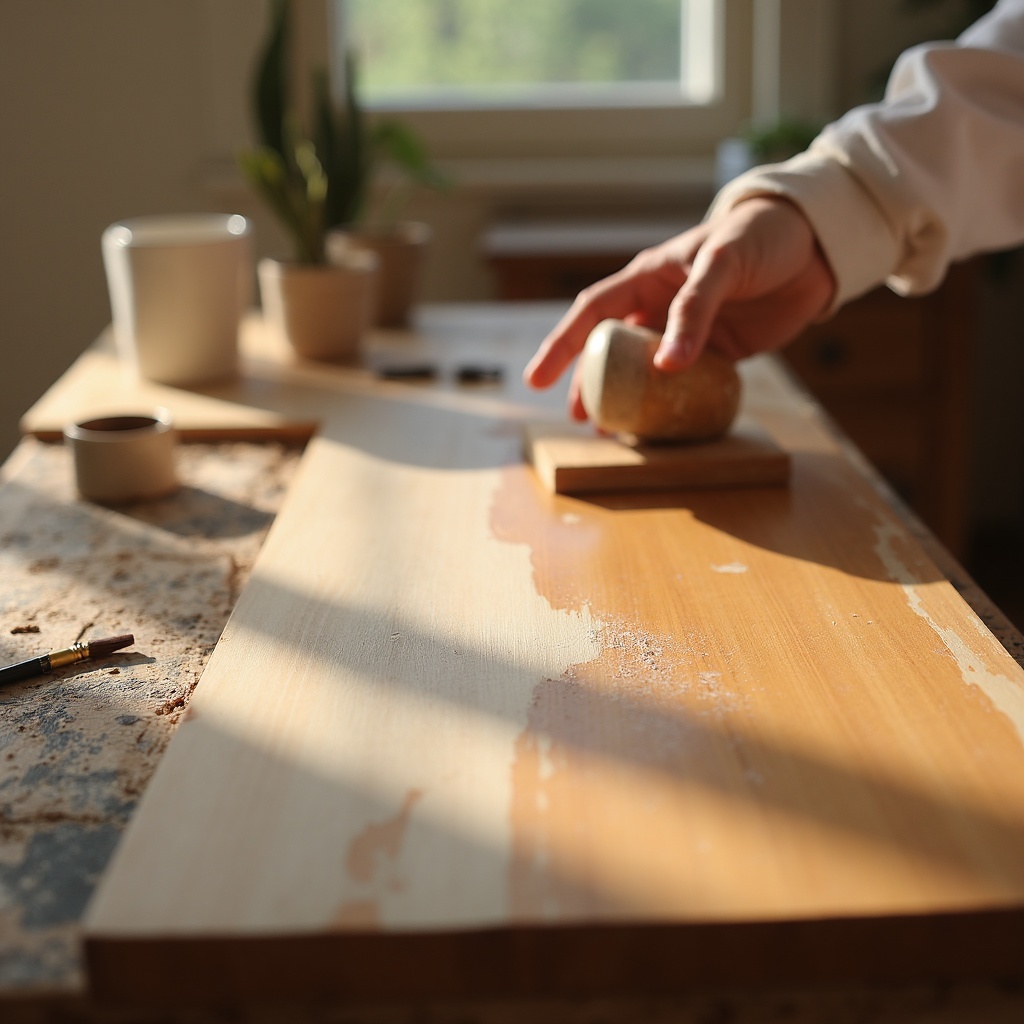
Step 3 — Sanding Again
Once the primer is dry, lightly sand the surface again with fine-grit sandpaper. This step is often overlooked but is crucial for achieving a smooth finish. Sanding the primer helps to remove any brush strokes or imperfections and ensures that the paint will adhere more evenly. Be gentle during this step to avoid removing the primer. After sanding, wipe the surface with a tack cloth to remove any dust particles. This attention to detail will make a significant difference in the final appearance of your painted furniture.
Step 4 — Choosing the Right Paint
Selecting the right paint is essential for the success of your project. Consider the type of furniture and the look you want to achieve. Latex paint is durable and easy to clean, making it a great choice for high-traffic pieces. Chalk paint, on the other hand, is perfect for achieving a vintage or shabby chic look. Regardless of your choice, ensure the paint is of high quality to avoid chipping and fading over time. Test a small area first to see how the color looks once dry, as it may differ from the paint swatch.
Step 5 — Painting Techniques
Now comes the fun part—painting! Start with the edges and detailed areas using a small brush, then move on to larger surfaces with a foam roller for a smooth finish. Apply the paint in thin, even coats, allowing each layer to dry completely before adding the next. This method prevents drips and ensures a more durable finish. Depending on the color and type of paint, you may need two to three coats for full coverage. Take your time and enjoy the process, as patience will yield the best results.
Step 6 — Adding Details
Once the base coat is dry, consider adding some details to make your piece truly unique. Techniques such as distressing, stenciling, or adding decorative hardware can elevate the look of your furniture. For distressing, lightly sand the edges and corners to reveal the wood or primer beneath, giving it a worn, vintage feel. Stenciling can add intricate patterns or designs, while new hardware can modernize an old piece. These finishing touches allow you to express your personal style and creativity.
Step 7 — Sealing the Paint
To protect your hard work, apply a sealer or topcoat. This step is crucial for enhancing the durability and longevity of your painted furniture. Choose a sealer that is compatible with your paint type, such as a water-based polyurethane for latex paint or a wax finish for chalk paint. Apply the sealer in thin, even coats, allowing each layer to dry thoroughly before applying the next. This protective layer will help prevent scratches, stains, and fading, ensuring your piece looks beautiful for years to come.
Step 8 — Curing Time
After sealing, it’s important to allow the paint and sealer to cure properly. Curing is different from drying; it involves the paint hardening to its final state. This process can take anywhere from a few days to a couple of weeks, depending on the type of paint and environmental conditions. During this time, handle the furniture with care and avoid placing heavy objects on it. Proper curing ensures the paint’s durability and prevents premature wear and tear.
Step 9 — Maintenance Tips
To keep your painted furniture looking its best, regular maintenance is key. Dust the surface regularly with a soft cloth to prevent dirt buildup. Avoid using harsh chemicals or abrasive cleaners, as they can damage the paint and sealer. If you notice any chips or scratches, touch them up promptly to prevent further damage. By taking these simple steps, you can enjoy your beautifully painted furniture for many years to come.
Before & After
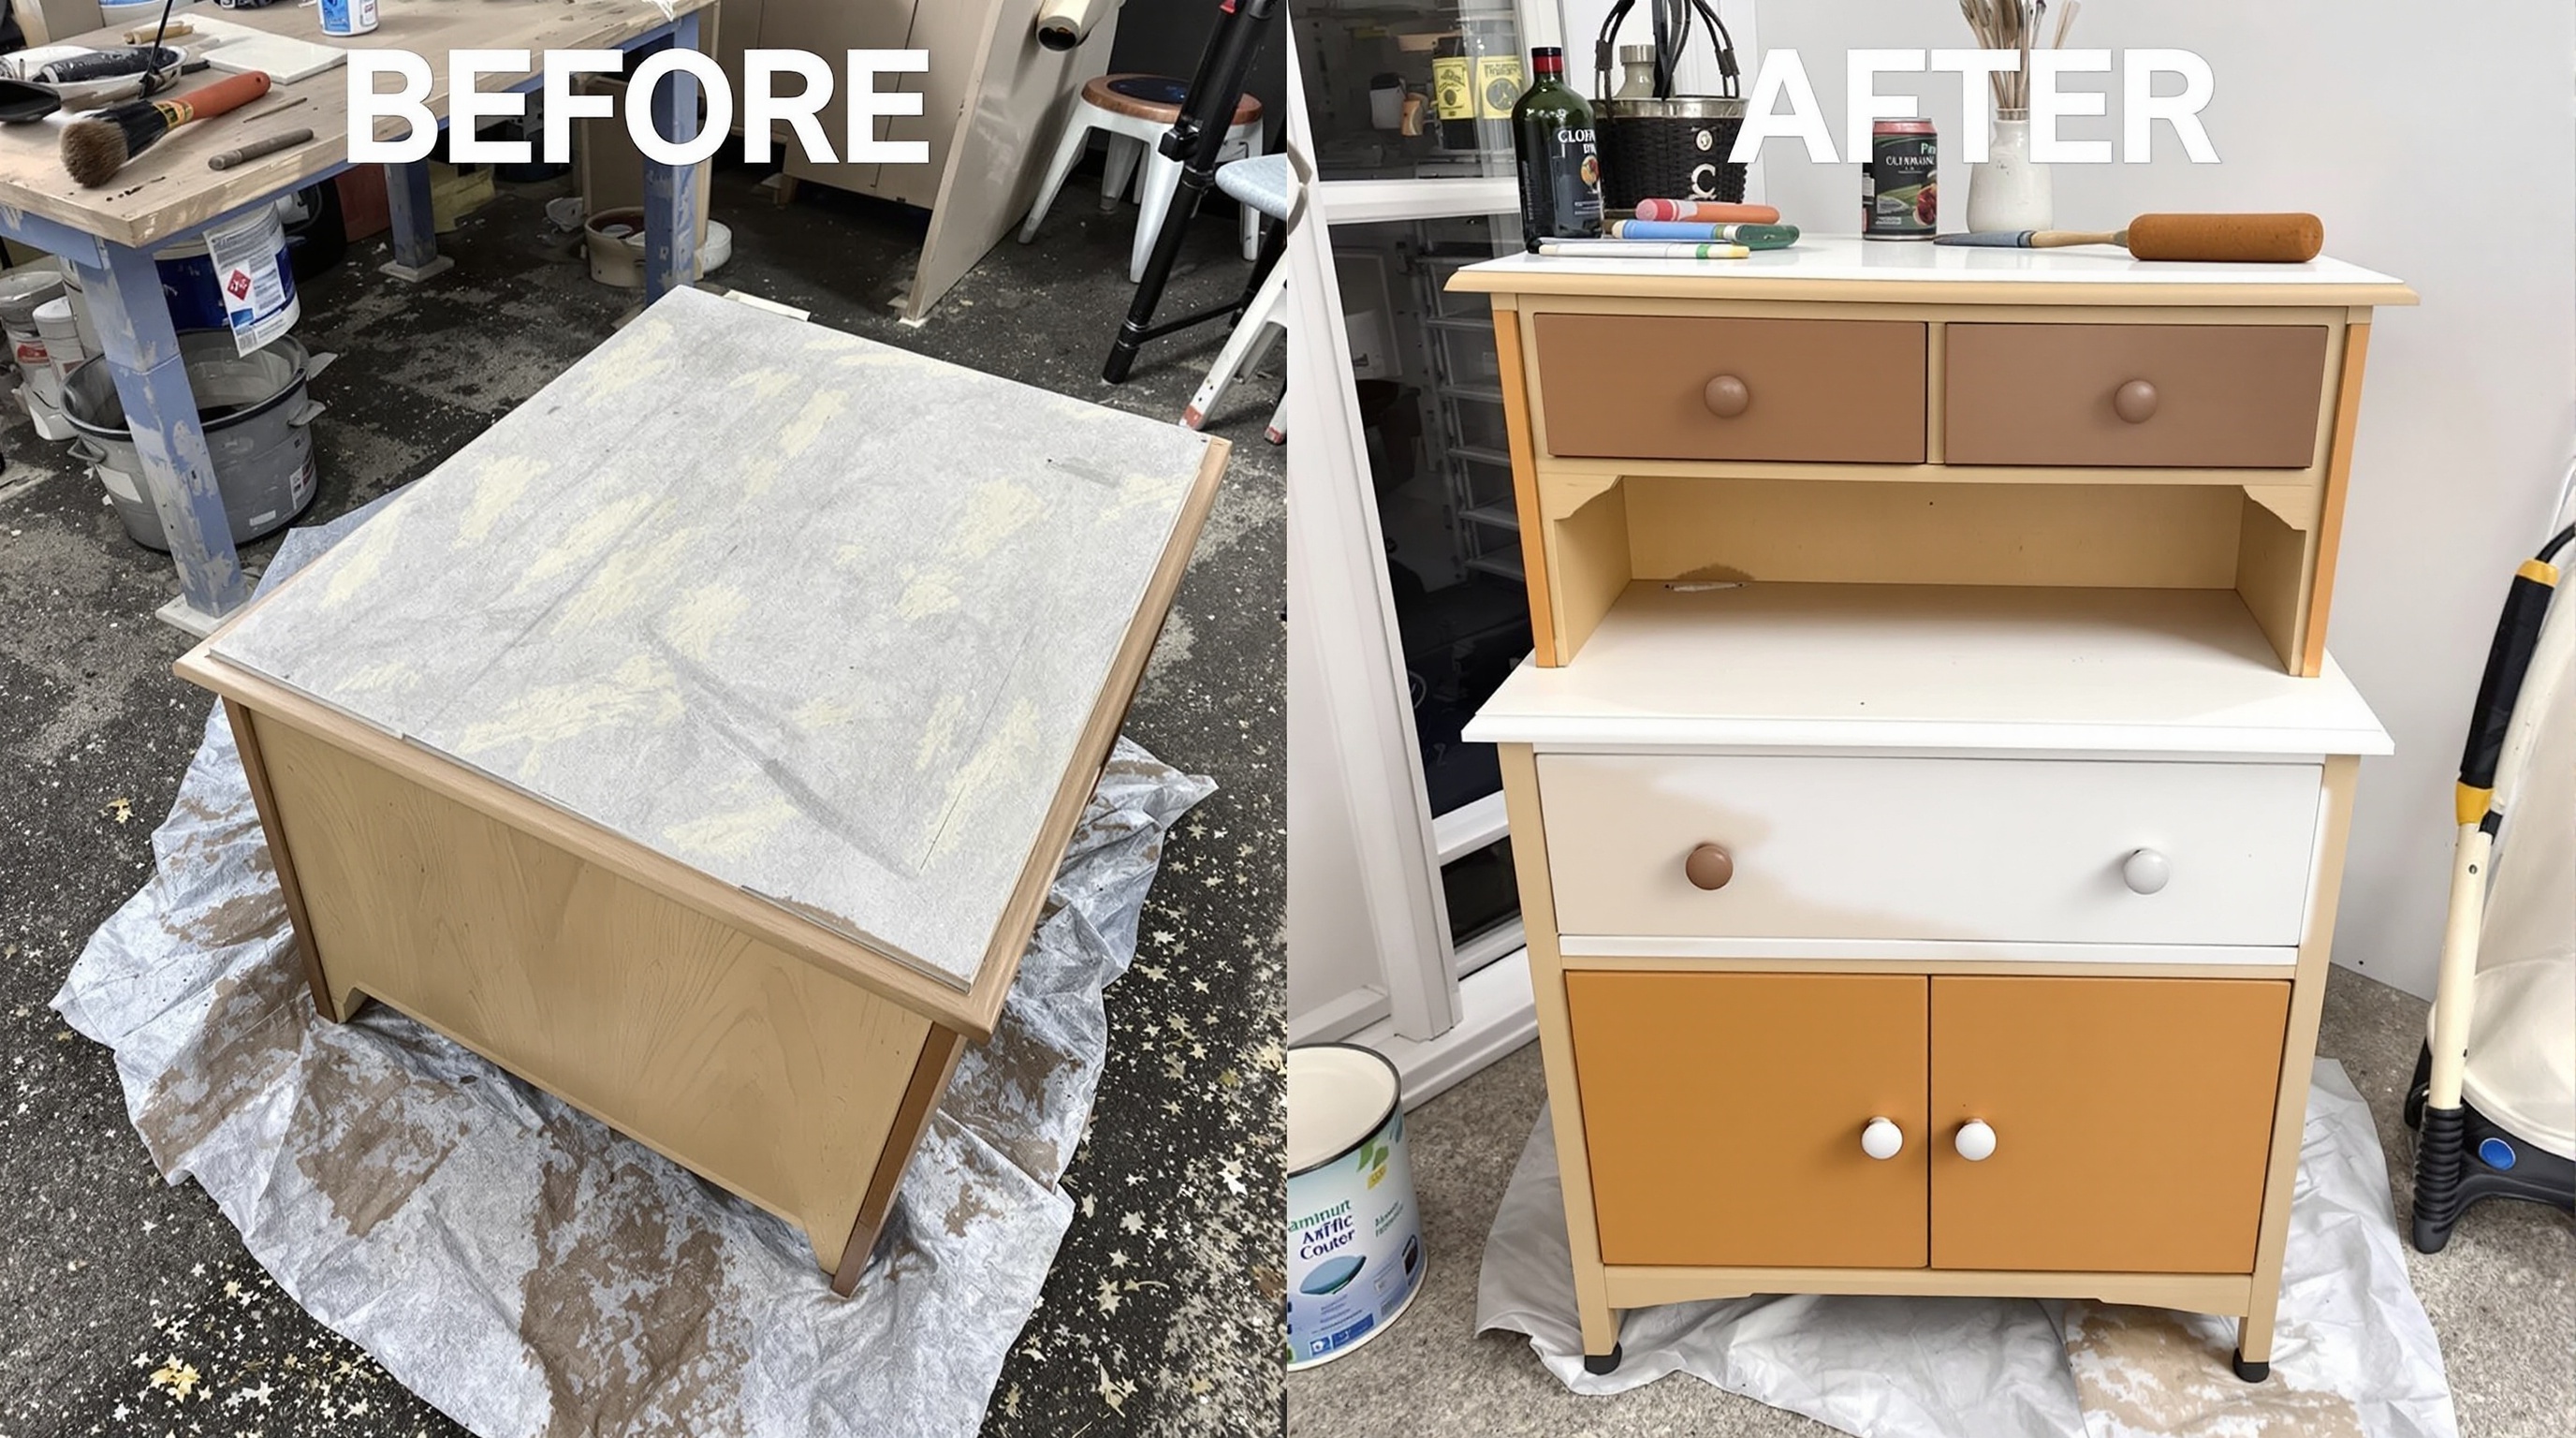
Final Thoughts
Congratulations on completing the Furniture Painting Masterclass! You’ve learned how to transform ordinary furniture into stunning pieces with your own personal touch. Remember, the key to success lies in preparation, patience, and attention to detail. Don’t be afraid to experiment with different techniques and colors to create something truly unique. Whether you’re updating a single piece or redecorating an entire room, the skills you’ve acquired will serve you well. Keep practicing and honing your craft, and soon you’ll be tackling more complex projects with confidence. Happy painting!
Pin It for Later
Save this project to your Pinterest board so you can find it when you’re ready to make it.
