Basic Woodworking Techniques
Woodworking is a rewarding hobby that combines creativity with craftsmanship. Whether you’re building furniture or crafting small decorative items, understanding basic woodworking techniques is essential. This guide will walk you through the fundamental skills needed to start your woodworking journey. From selecting the right tools to mastering essential techniques, you’ll gain the confidence to tackle a variety of projects. With patience and practice, woodworking can become a fulfilling and enjoyable pastime. Let’s dive into the world of woodworking and discover the skills that will set the foundation for your future projects.
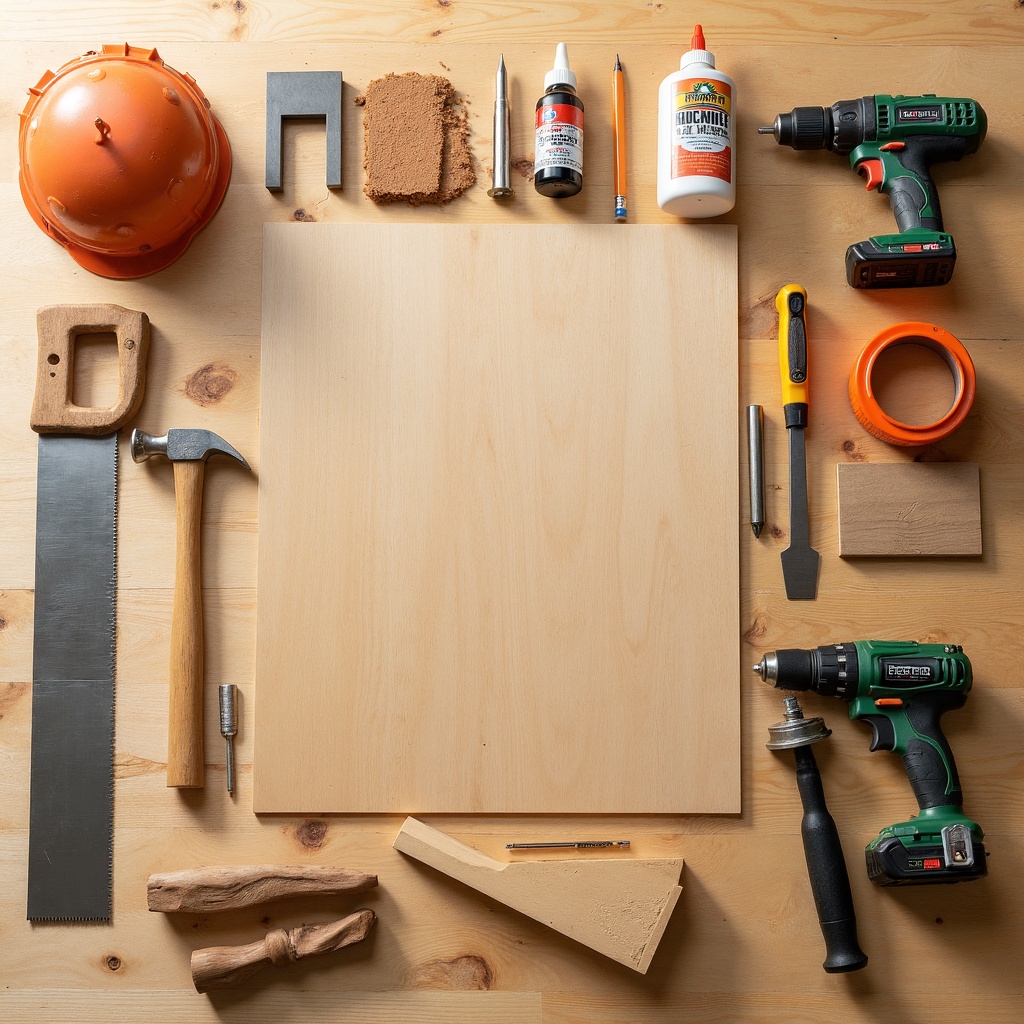
Supplies You’ll Need
- Saw: Essential for cutting wood to size. Choose a hand saw or power saw depending on your project.
- Hammer: Used for driving nails into wood. A claw hammer is versatile for most tasks.
- Chisels: Perfect for carving and shaping wood. Ensure they are sharp for precision work.
- Measuring Tape: Accurate measurements are crucial in woodworking to ensure pieces fit together properly.
- Square: Helps in marking right angles and ensuring your cuts are straight.
- Sandpaper: Used to smooth surfaces and edges. Various grits are needed for different finishes.
- Drill: Necessary for making holes and driving screws. A cordless drill offers flexibility.
- Clamps: Hold pieces of wood together while glue sets or during assembly.
- Wood Glue: Provides strong joints between wood pieces. Choose a high-quality adhesive.
- Workbench: A stable surface to work on. It should be sturdy and at a comfortable height.
- Safety Gear: Includes goggles and gloves to protect against dust and sharp tools.
- Pencil: For marking measurements and guidelines on wood.
- Level: Ensures your work is perfectly horizontal or vertical.
- Router: Used for hollowing out an area in the face of a piece of wood.
Step-by-Step Instructions
Step 1 — Planning Your Project
Before starting any woodworking project, it’s crucial to have a clear plan. Begin by sketching your design on paper, including dimensions and details. Consider the type of wood you’ll use, as different woods have varying properties and appearances. Planning helps you avoid mistakes and ensures you have all the necessary materials and tools ready before you begin. This step sets the foundation for a successful project, saving you time and resources in the long run.
Step 2 — Selecting the Right Wood
Choosing the right type of wood is essential for the success of your project. Hardwoods like oak and maple are durable and ideal for furniture, while softwoods like pine are easier to work with for beginners. Consider the wood’s grain, color, and texture, as these will affect the final appearance of your project. Understanding the properties of different woods will help you make informed decisions and achieve the desired outcome.
Step 3 — Measuring and Marking
Accurate measurements are the backbone of any woodworking project. Use a measuring tape and a square to ensure precision. Mark your measurements clearly with a pencil, double-checking each one before making any cuts. This attention to detail prevents errors and ensures that all pieces fit together seamlessly. Proper measuring and marking are critical skills that contribute to the overall quality and professionalism of your work.
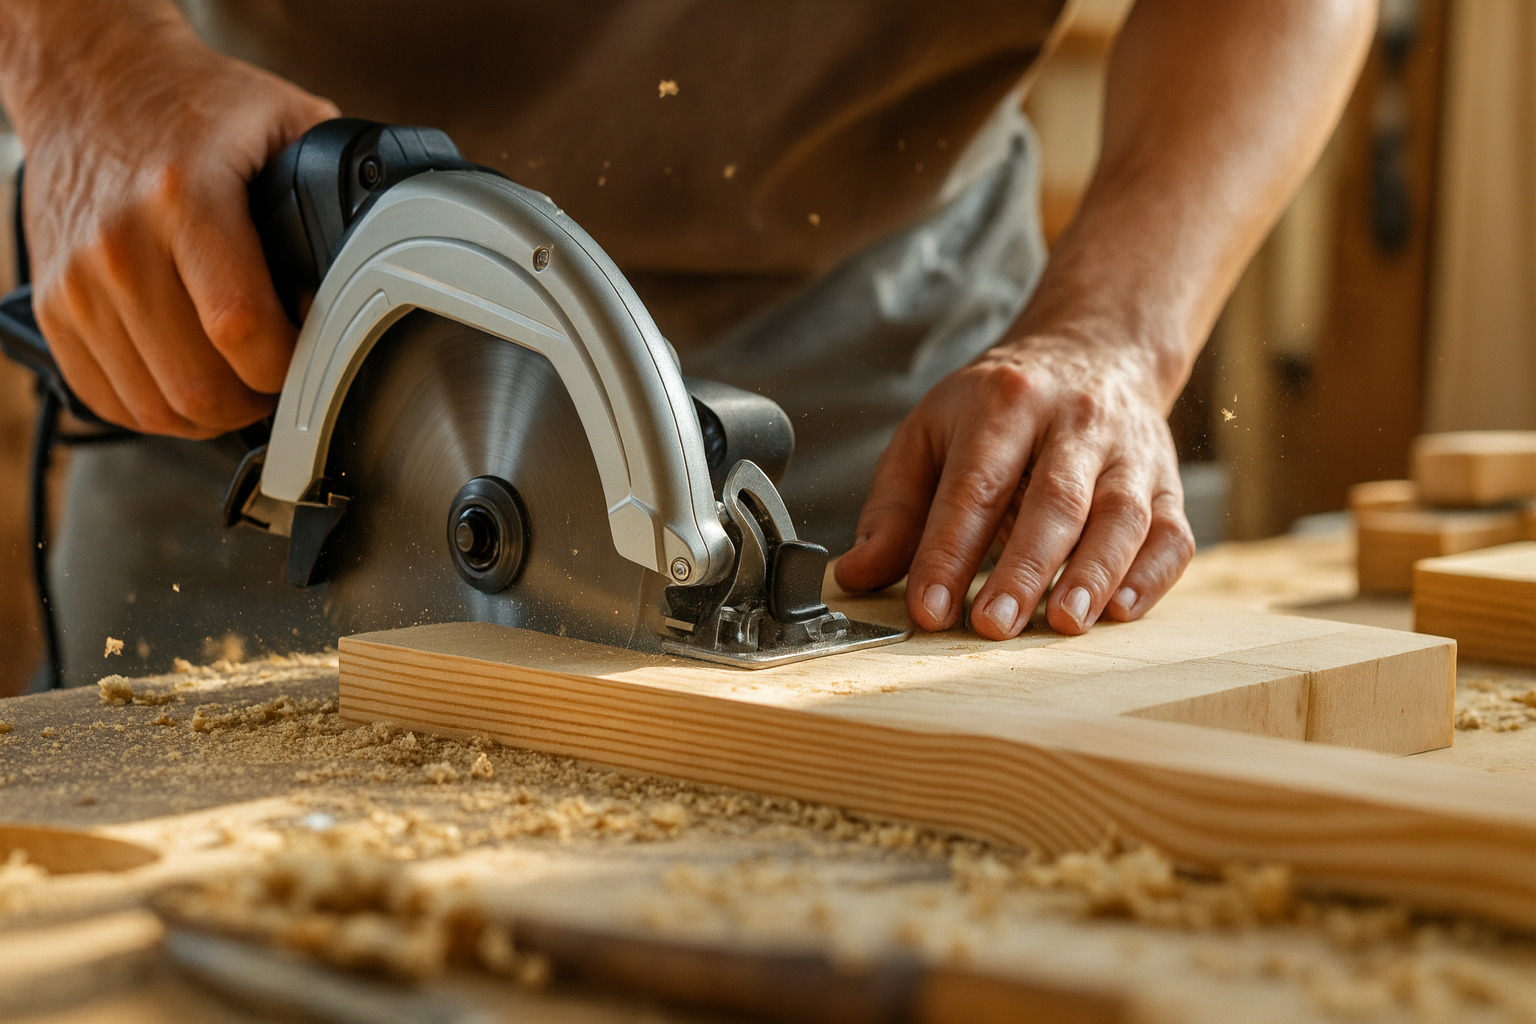
Step 4 — Cutting Wood
Cutting is a fundamental skill in woodworking, requiring both precision and safety. Choose the appropriate saw for your project, whether it’s a hand saw for small cuts or a power saw for larger pieces. Always follow safety guidelines, such as wearing goggles and keeping your hands clear of the blade. Practice makes perfect, so take your time to develop a steady hand and accurate cuts. Well-executed cuts are essential for the structural integrity of your project.
Step 5 — Joining Techniques
Joining wood pieces together is a crucial aspect of woodworking. There are various techniques, such as butt joints, dovetail joints, and mortise-and-tenon joints. Each method has its advantages and is suitable for different applications. Use wood glue and clamps to secure joints, ensuring they are strong and durable. Mastering these techniques will allow you to create sturdy and aesthetically pleasing projects.
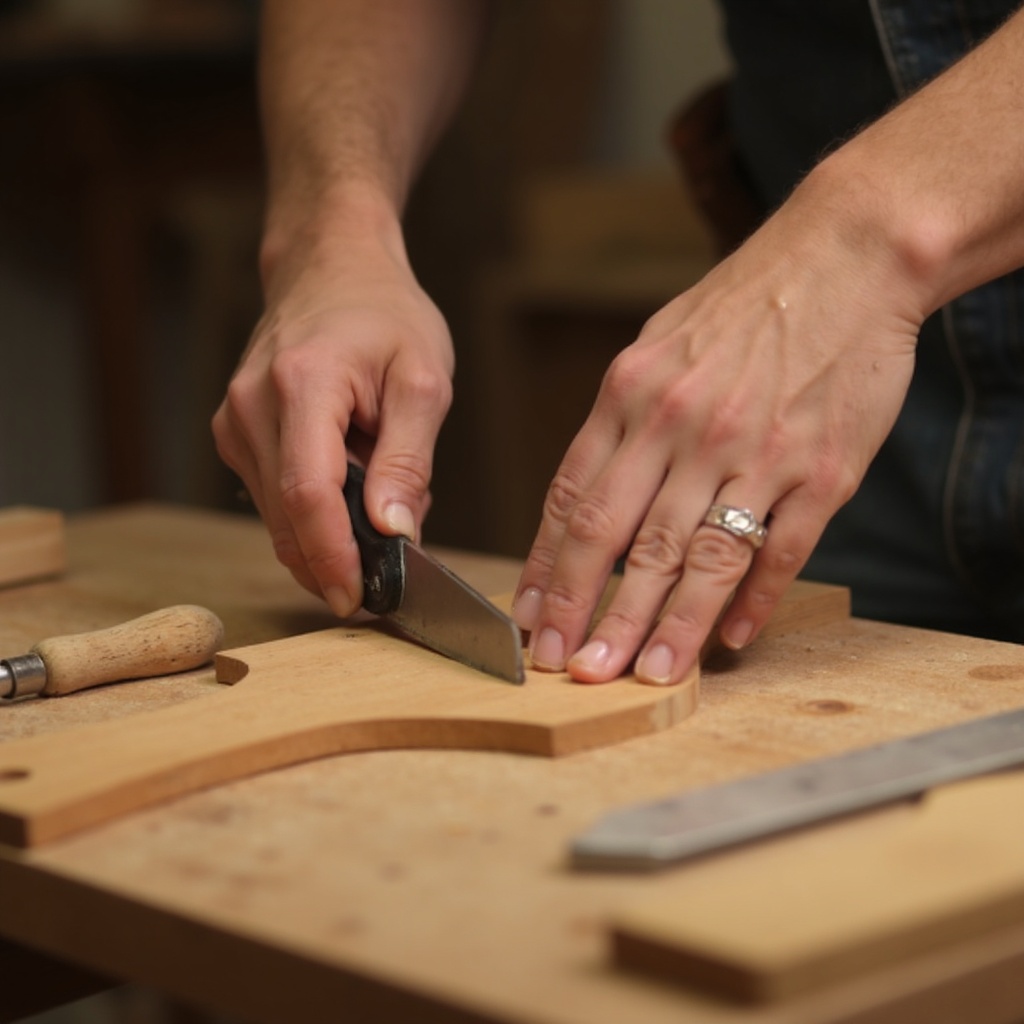
Step 6 — Sanding and Finishing
Sanding is essential for a smooth and professional finish. Start with a coarse grit sandpaper to remove rough edges, then progress to finer grits for a polished surface. After sanding, apply a finish such as varnish, stain, or paint to protect the wood and enhance its appearance. Finishing not only adds beauty but also extends the life of your project by protecting it from moisture and wear.
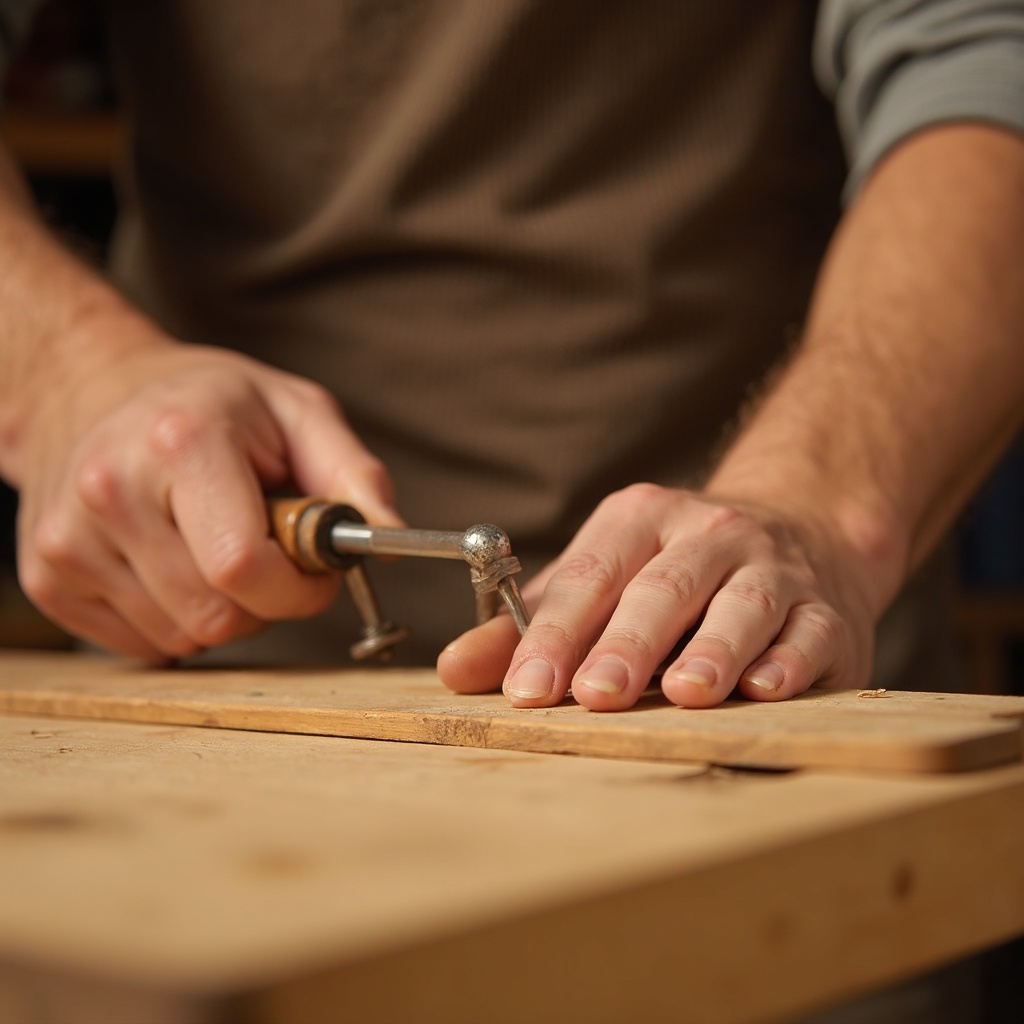
Step 7 — Drilling and Fastening
Drilling precise holes is necessary for inserting screws and other fasteners. Use a drill bit that matches the size of your screws to prevent splitting the wood. Practice drilling straight and accurate holes, as this will affect the strength of your joints. Fastening pieces together securely is crucial for the stability and longevity of your project. Proper drilling and fastening techniques ensure your work is both functional and durable.
Step 8 — Assembling the Project
Assembly is where all your preparation and individual skills come together. Follow your plan carefully, ensuring each piece is correctly aligned and joined. Use clamps to hold pieces in place while the glue dries, and check for any adjustments needed. This step requires patience and attention to detail, as it determines the final structure and appearance of your project. A well-assembled piece is a testament to your craftsmanship.
Step 9 — Troubleshooting and Adjustments
Even with careful planning, issues can arise during a project. Be prepared to troubleshoot problems such as misaligned joints or uneven surfaces. Use your skills to make necessary adjustments, whether it’s re-cutting a piece or sanding down an edge. Flexibility and problem-solving are valuable traits in woodworking, allowing you to overcome challenges and achieve the best possible results.
Final Thoughts
Woodworking is a journey of continuous learning and improvement. As you practice these basic techniques, you’ll gain confidence and develop your own style. Remember that mistakes are part of the process and offer valuable lessons. With each project, you’ll refine your skills and expand your knowledge. Embrace the challenges and enjoy the satisfaction of creating something with your own hands. Whether you’re crafting a simple shelf or an intricate piece of furniture, the joy of woodworking lies in the creativity and craftsmanship it fosters. Keep experimenting, stay curious, and let your passion for woodworking grow.
Pin It for Later
Save this project to your Pinterest board so you can find it when you’re ready to make it.
