Mastering Basic Woodworking Techniques for Beginners
Woodworking is a rewarding and creative hobby that anyone can start, offering a unique blend of skill, technique, and artistry. By mastering basic woodworking techniques, you can build furniture, home décor, and much more. This guide will introduce you to the essential techniques used in woodworking, making it easier to tackle your first project with confidence. Start with understanding the types of wood available: softwoods like pine are easier to work with, while hardwoods like oak offer a more durable finish. Consider your project’s purpose to choose the right material—softwoods are ideal for indoor projects, while hardwoods can withstand wear for outdoors. Learning the joy of creating something tangible with your own hands will not only boost your confidence but also give you a sense of accomplishment that few hobbies can match. Every new project presents a chance to learn something new, so don’t hesitate to experiment with different techniques as you progress.
Woodworking Project Ideas
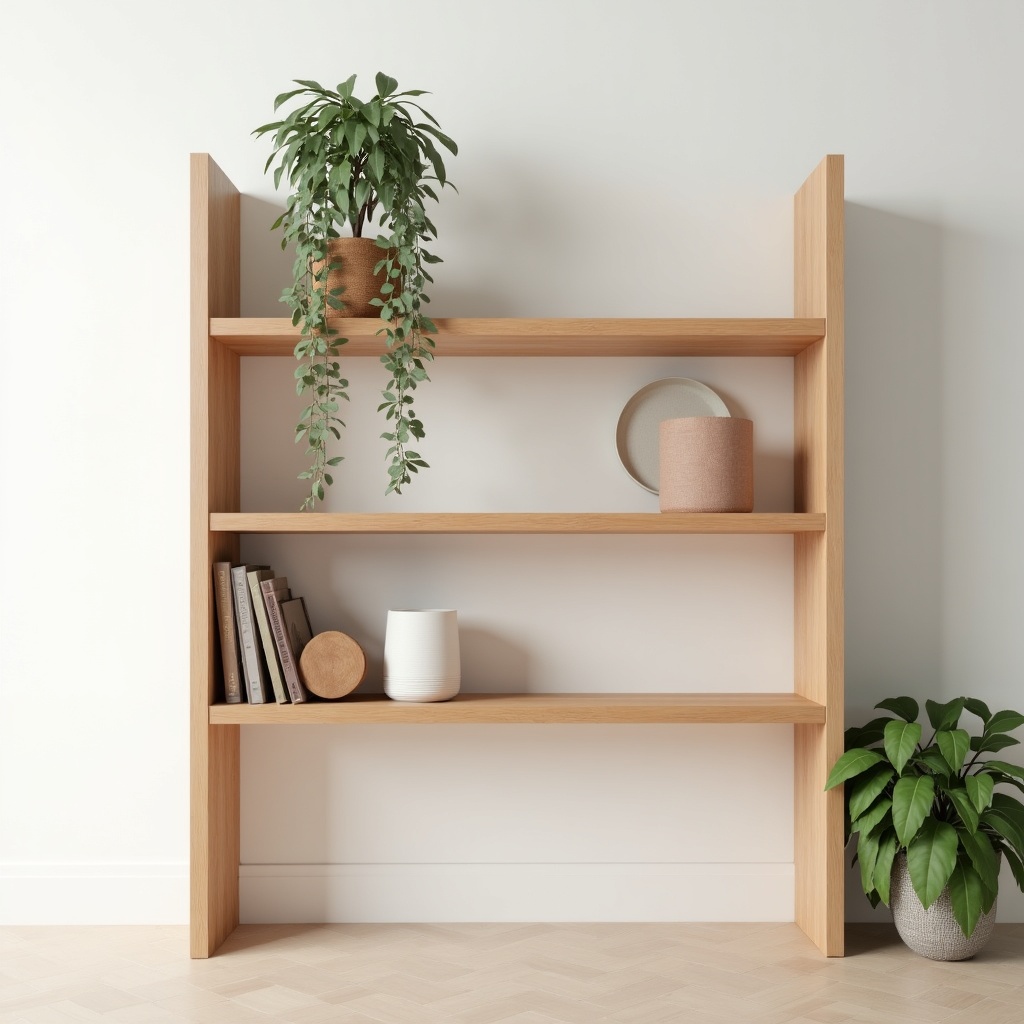
- Simple Bookshelf
- Wall Art Frames
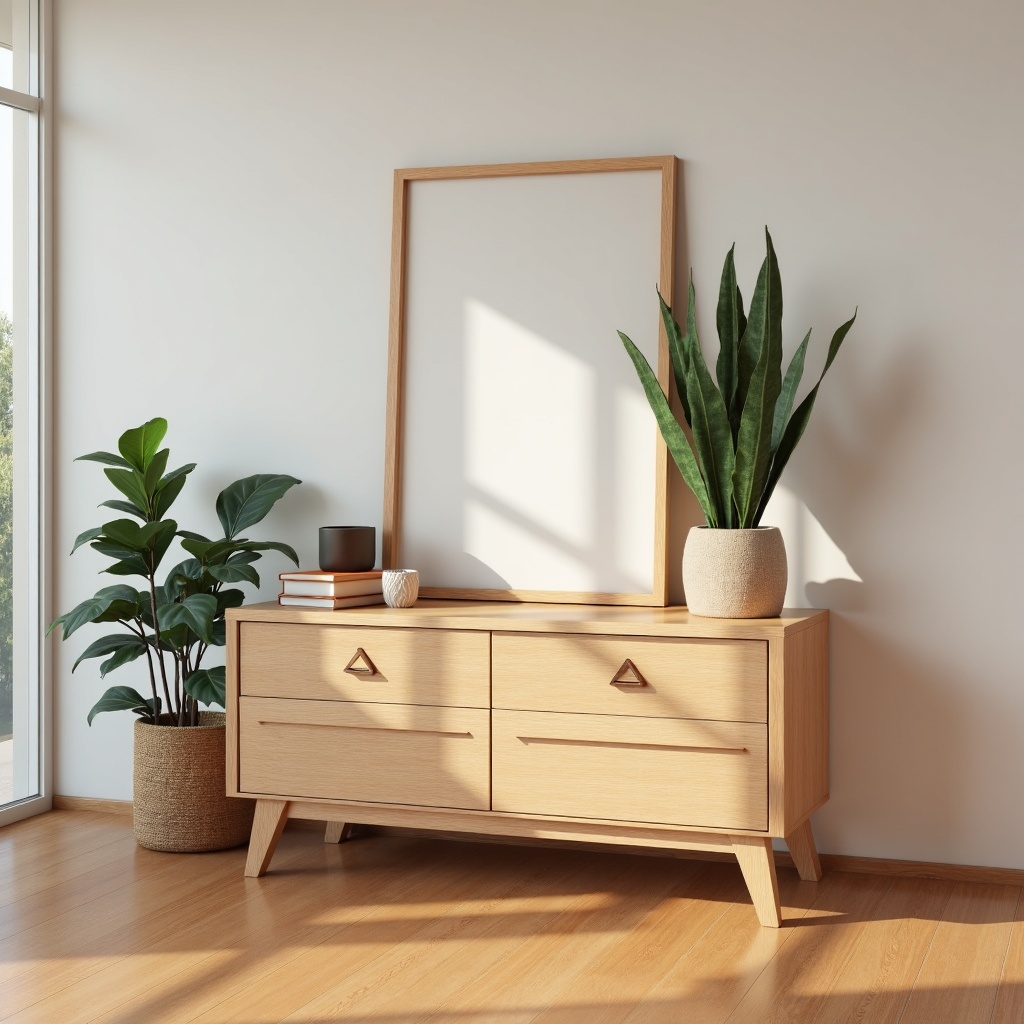
- Coffee Table
- Planter Box
Essential Woodworking Tools
- Tape Measure
- 25ft for accuracy.
- Circular Saw
- 7.25 inches for versatility.
- Drill/Driver
- Cordless for convenience.
- Chisel Set
- 1/2 inch and 1 inch for detailed work.
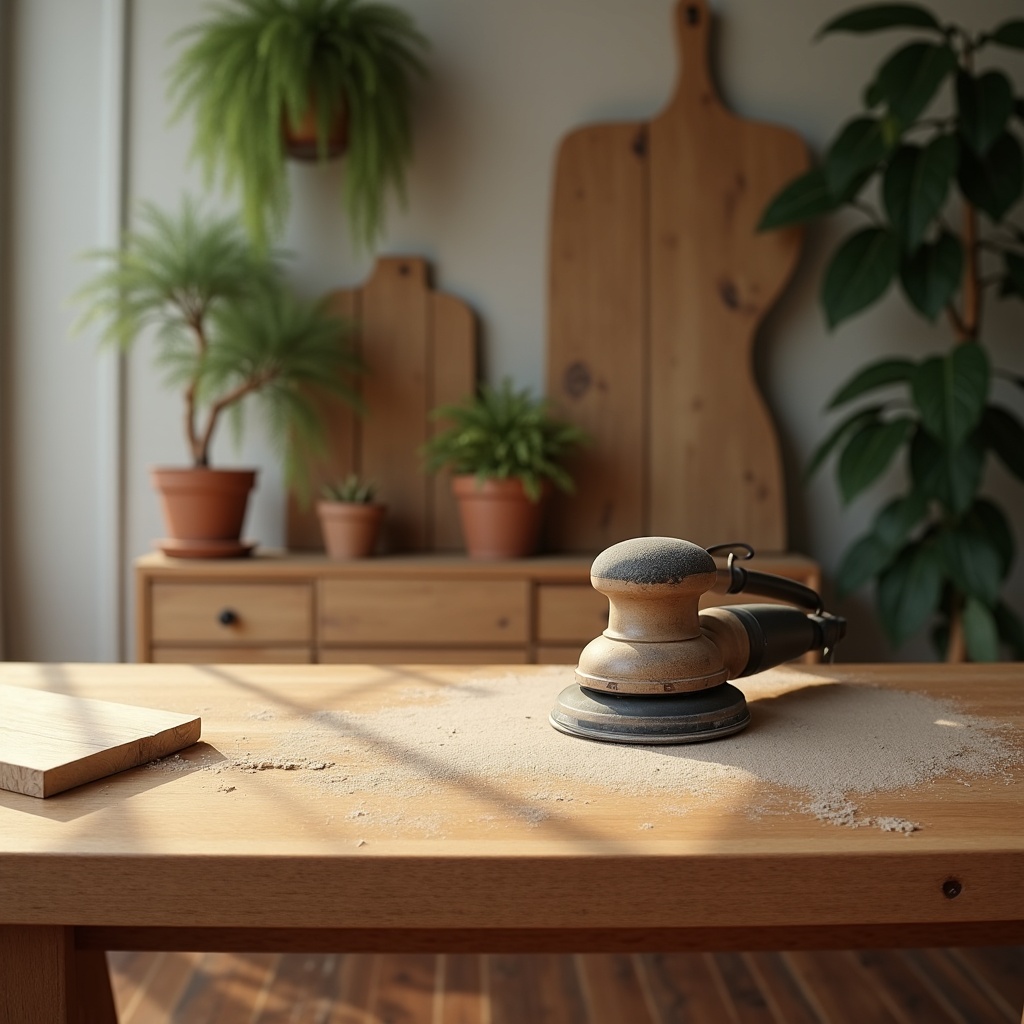
- Sander
- Random orbital for smooth finishes.
Step-by-Step Basic Woodworking Techniques
- Measuring and Marking: Use a tape measure to accurately measure your wood, ensuring the measurements are precise to the nearest 1/16 of an inch. Mark with a pencil or chalk; this will make it easier to see your lines. For longer pieces, use a straight edge to draw your cut lines, and mark the wood clearly with crosshairs at each cut point to minimize error.
- Cutting: Follow your marked lines using a circular saw for straight cuts. Always cut away from your body for safety, and secure the wood with clamps to prevent movement. Ensure the base of the saw is flush with the wood to avoid kickback; a clamp guide can also help maintain a straight line.
- Drilling: For holes or assembly, use the drill/driver at appropriate speeds, starting slow for precise placement. Ensure your drill bits match the size of your screws or dowels. Pre-drill holes to prevent wood from splitting, especially in hardwoods. If using a countersink bit, make sure it creates a space for screw heads to sit flush with the wood surface.
- Assembling: Use wood glue and screws to join pieces together. Apply wood glue along the edges of the joints and use screws to secure them. Always clamp them for a stronger bond, allowing the glue to set according to the manufacturer’s instructions, usually around 30 minutes to 1 hour.
- Sanding: Smooth surfaces with a sander, starting with coarse grit (around 80 grit) for rough shaping, then moving to fine grit (220 grit) for a smooth finish. Always sand in the direction of the wood grain to avoid scratching the surface, and be sure to remove dust with a tack cloth before applying any finish.
- Finishing: Apply a varnish or paint for protection and aesthetic appeal. Always test the finish on a scrap piece first to see the color and sheen it will create. Apply multiple thin coats and allow each to dry according to the product instructions—usually 24 hours between coats for optimal results.
Top Tips for Successful Woodworking
- Always double-check measurements before cutting to reduce waste and ensure accuracy. Use both metric and imperial measurements where possible to cover any tolerance issues.
- Practice on scrap wood before tackling your main project; it allows you to refine your skills without the pressure of ruining quality materials.
- Keep your workspace tidy to avoid accidents; a clean area helps you think clearly and work more efficiently. Store tools and materials neatly and dispose of sawdust regularly.
- Use clamps to ensure precise joints during assembly. Invest in various sizes of clamps such as bar clamps for large projects and spring clamps for smaller pieces—both can help maintain pressure and alignment as your adhesive dries.