The holiday season is the perfect excuse to unleash your creativity and fill your home with warmth and sparkle. The best part? You don’t need to spend a fortune. With a few materials, a little imagination, and these beginner-friendly DIY Christmas decoration ideas, you can create a festive home that feels uniquely yours. Whether you love rustic charm, minimalist whites, or bold colour pops, these handmade projects bring joy, personality, and a touch of nostalgia to your space.
Jump to a Project
- Painted Pinecones – The Rustic Classic
- Paper Snowflake Garland
- String-Light Jar Lanterns
- Cinnamon-Stick Star Ornaments
- Eucalyptus & Pine Wreath
- Salt-Dough Ornaments
- Upcycled Gift Tag Board
1) Painted Pinecones – The Rustic Classic
Time: 20–30 min Cost: <$10 Difficulty: Easy
You’ll need: Pinecones, acrylic paint (white or metallics), small brush, paper plate, optional glitter, twine.
- Shake out and dust pinecones. If sappy, place in a low oven (90 °C / 200 °F) for 15 minutes to dry—cool fully.
- Dry-brush paint across the tips for a snow-kissed effect.
- While tacky, sprinkle glitter on one or two cones.
- Tie loops of twine to hang, or cluster them in a bowl for a natural centrepiece.
Tip: Mix large and small pinecones for better texture balance.
2) Paper Snowflake Garland
Time: 30–45 min Cost: <$5 Difficulty: Easy
You’ll need: White or metallic paper, scissors, pencil, clear tape, thin cotton thread.
- Cut paper into squares, fold diagonally twice, then into thirds (like a pie slice).
- Snip small shapes along folded edges.
- Unfold to reveal delicate snowflakes.
- Tape snowflakes to thread and hang across a window or entryway.
Variation: Try baking paper or vellum for a frosty, translucent finish.
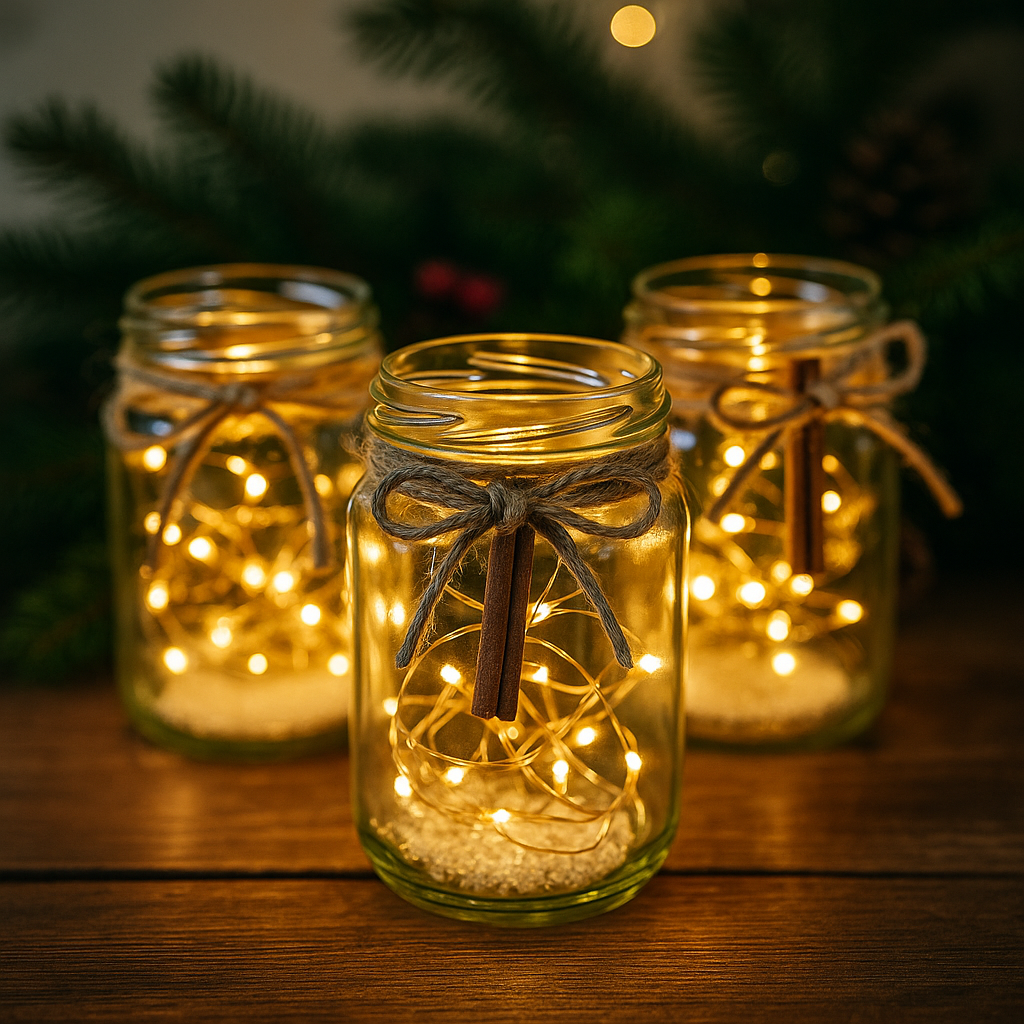
3) String-Light Jar Lanterns
Time: 15–20 min Cost: $10–$20 Difficulty: Easy
You’ll need: 2–3 clean jars, short warm-white battery fairy lights, ribbon or jute, cinnamon sticks (optional).
- Coil lights loosely inside jars; hide battery packs behind decor.
- Tie ribbon or jute around jar necks, tucking cinnamon sticks under the knot.
- Group jars on shelves, a mantle, or along your entryway.
Safety: Use battery lights only—no flames!
4) Cinnamon-Stick Star Ornaments
Time: 20–30 min Cost: <$8 Difficulty: Easy
You’ll need: 10–12 cinnamon sticks, hot glue gun, twine, small wooden beads.
- Arrange five sticks into a star and hot-glue intersections.
- Reinforce by gluing an extra layer on top.
- Tie a twine hanger and finish with a bead.
Bonus: Spray lightly with clear lacquer to preserve scent and stop shedding.
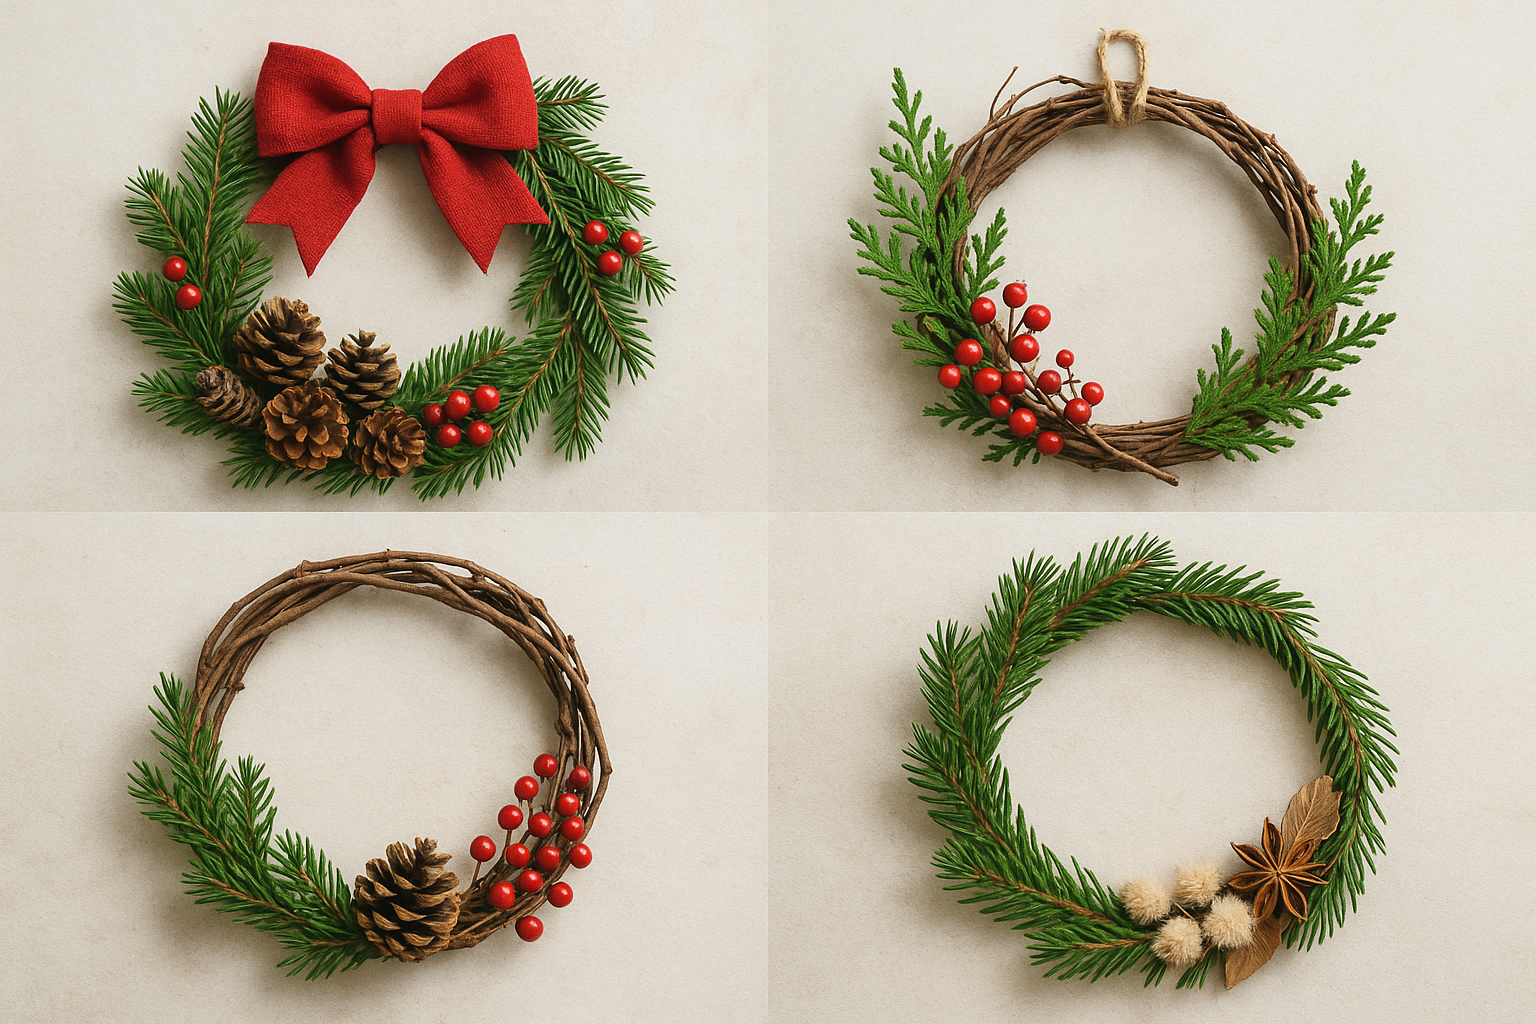
5) Eucalyptus & Pine Wreath
Time: 40–60 min Cost: $25–$35 Difficulty: Moderate
You’ll need: Grapevine wreath base, eucalyptus sprigs, pine offcuts, floral tape, ribbon.
- Start at the side of the wreath base and layer eucalyptus stems clockwise.
- Add pine sprigs for fullness; secure tricky stems with floral tape underneath.
- Keep it asymmetrical for a modern look.
- Tie on ribbon or add bells for sound and sparkle.
Variation: Dried orange slices bring instant festive scent.
6) Salt-Dough Ornaments
Time: 1 hr + drying Cost: <$5 Difficulty: Easy
You’ll need: 1 cup flour, ½ cup salt, ½ cup warm water, rolling pin, cookie cutters, straw, paint.
- Mix flour, salt, and water into dough; roll to 5 mm thick.
- Cut shapes and poke hanging holes with a straw.
- Bake at 100 °C / 210 °F for 2 hours or air-dry overnight.
- Paint, seal with clear varnish, and thread ribbon through.
Storage tip: Wrap in tissue and store flat to avoid cracking.
7) Upcycled Gift Tag Board
Time: 25 min Cost: <$10 Difficulty: Easy
You’ll need: Cork board or scrap plywood, twine, small pegs, leftover wrapping paper, gift tags, tape.
- Wrap the board with paper like a present and secure at the back.
- String twine across in a zigzag pattern, securing with tape or tacks.
- Clip finished gift tags or mini ornaments along the twine for an interactive display.
Idea: Use it as an advent countdown—add one tag per day until Christmas!
Styling & Display Tips
- Cluster handmade pieces in groups of three or five for balance.
- Stick to a cohesive palette (e.g., green, white, and brass) to avoid clutter.
- Layer heights: jars low, wreaths mid-eye, garlands high.
- Add warm LED lighting—softer tones photograph beautifully.
Sustainability & Storage
When the season ends, wrap fragile pieces in tissue or old fabric and store in labelled boxes. Avoid plastic decorations where possible—natural materials age gracefully and can often be composted or reused next year. Keeping your holiday décor simple, mindful, and handmade means less waste and more meaning.